Redmine
Redmine integration connects Redmine issues to Allure TestOps and surfaces the linked TestOps artifacts back inside Redmine through the Redmine plugin. It covers:
- linking Redmine issues to test cases and launches in TestOps;
- authenticating a TestOps project against Redmine with either API or classic credentials;
- exposing linked TestOps artifacts inside Redmine through the Allure TestOps Redmine plugin.
Before you begin
- The URL of the Redmine instance.
- Either a Redmine API token or a Redmine username and password.
- Permission to install plugins in Redmine.
- Permission to add global integrations in TestOps and to enable them in the target project.
1. Add the global Redmine integration
An instance administrator should:
Open Administration → Integrations in TestOps.
Click + Add integration.
Select Redmine.
Fill in the fields:
- Name — a stable name for the integration, for example
Redmine production. - Endpoint — the URL of the Redmine instance, for example
https://redmine.example.com.
- Name — a stable name for the integration, for example
If the Redmine instance uses a self-signed certificate, check Disable certificate validation.
Click Add integration.
2. Enable Redmine in the TestOps project
After saving, note the TestOps integration ID shown for that Redmine integration in the Added integrations section. The Redmine plugin uses that ID to connect the Redmine project to the correct TestOps integration.

3. Install and configure the Redmine plugin
Download the plugin archive from dl.qameta.io.
Create the directory
$REDMINE/plugins/allure_testops.Extract the archive contents into that directory.
Restart Redmine.
In Redmine, open Administration → Plugins.
Find Allure TestOps and click Configure.
Fill in the fields:
- Allure Endpoint — the URL of the TestOps instance.
- Issue Tracker Key — the Redmine integration ID from the TestOps project.
Click Apply.
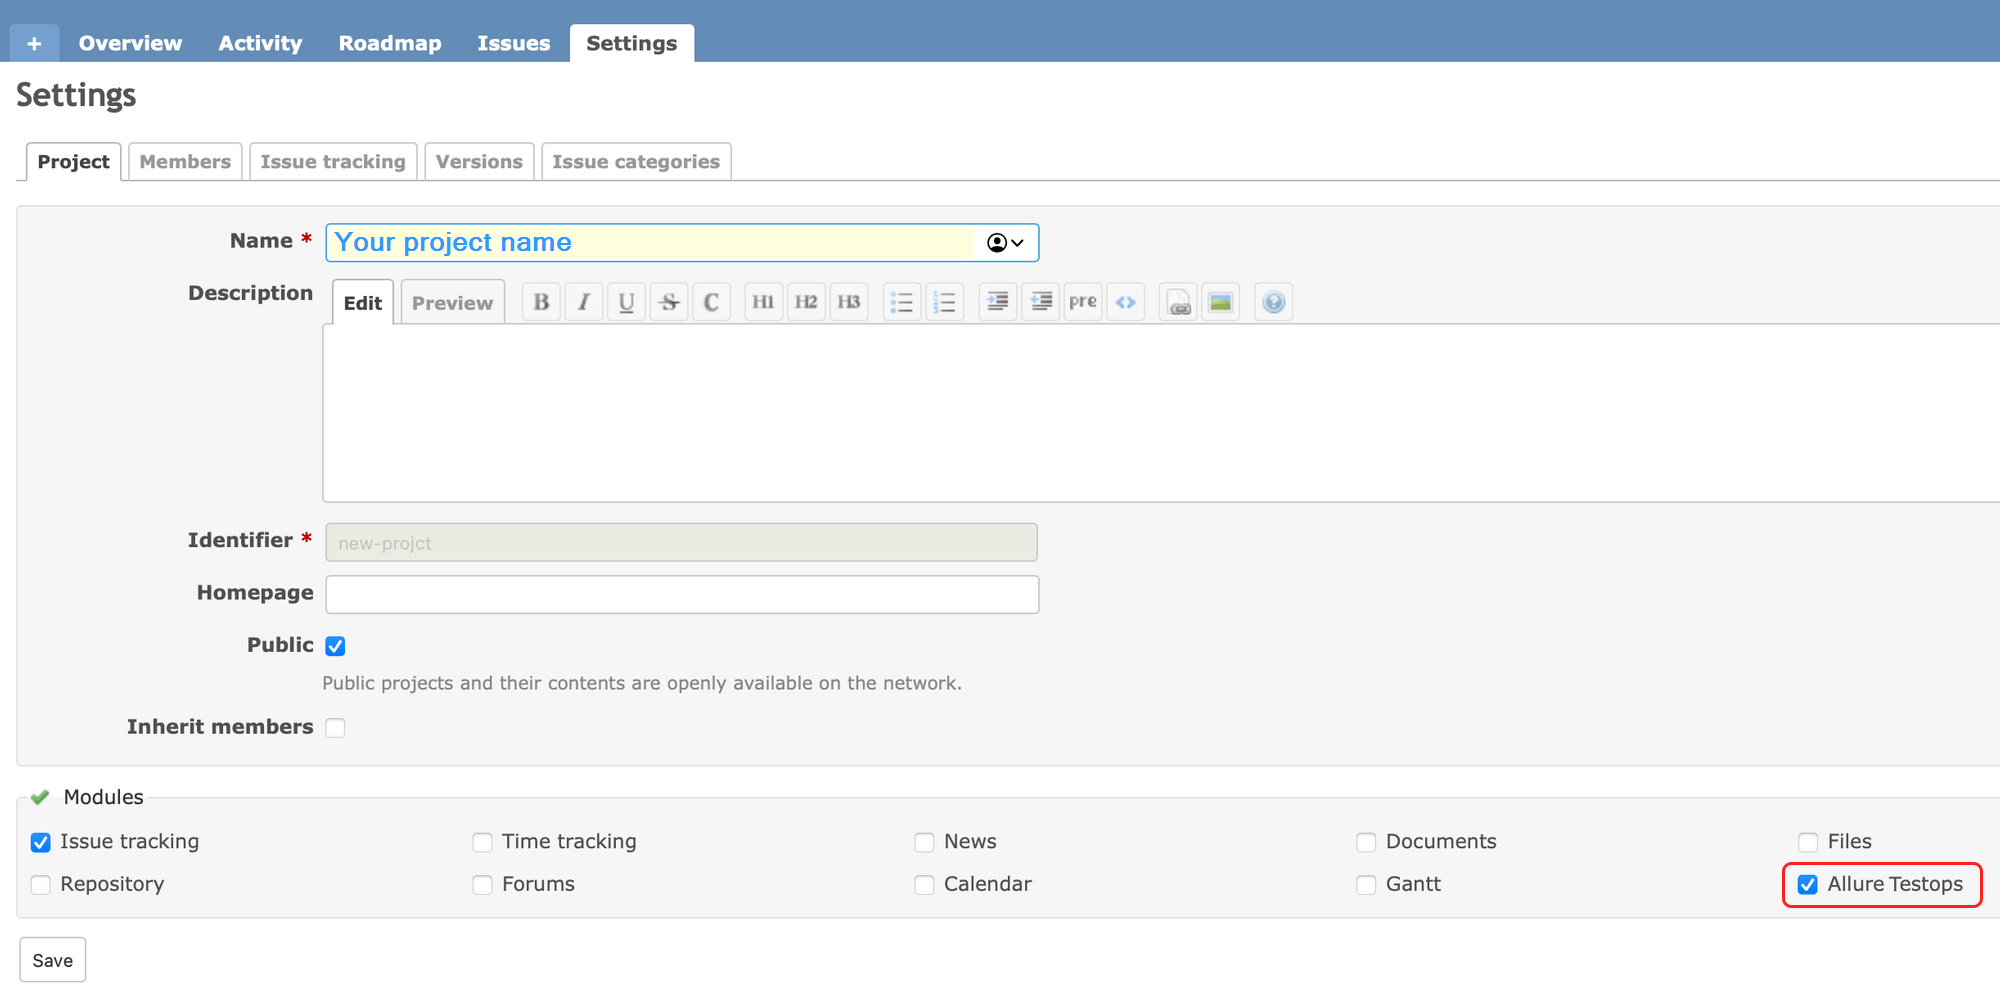
Then enable the plugin for the Redmine project where users should see the linked TestOps artifacts.
Verify the integration
In TestOps, link a Redmine issue to a test case or a launch.
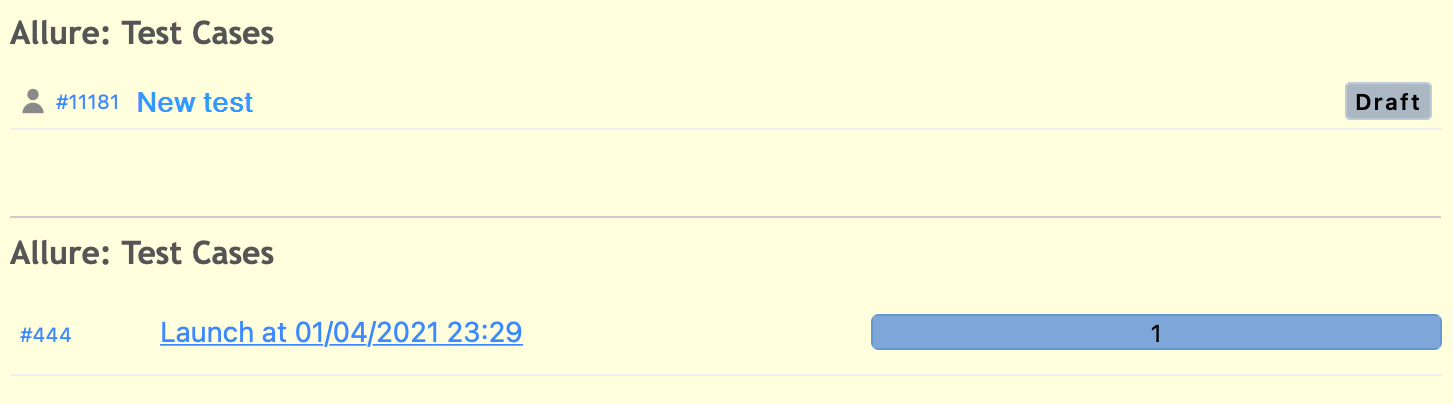
Open the Redmine issue and confirm that the Allure TestOps panel is visible.
Sign in through the Redmine plugin if required.

Confirm that the linked TestOps artifacts appear in the Redmine issue view.
Troubleshooting
The Allure TestOps panel is empty in the Redmine issue
Check these points:
- The TestOps project integration is enabled and uses valid Redmine credentials.
- The Redmine plugin uses the correct TestOps endpoint.
- The Issue Tracker Key in Redmine matches the integration ID from the TestOps project.
The plugin is installed but the Redmine project cannot see it
Confirm that the plugin is enabled for the target Redmine project, not just installed globally in Redmine.
Related pages
- Issue trackers and work management for the broader issue-linking model.
- Links, issues, and relations for how linked work items appear in TestOps.
