Run a manual test
A manual test is the simplest way to see the full Allure TestOps workflow inside one project. In this walkthrough, you create one test case, execute it in a launch, and close the launch so the result becomes part of the shared project history.
Create one manual test case
Open your project.
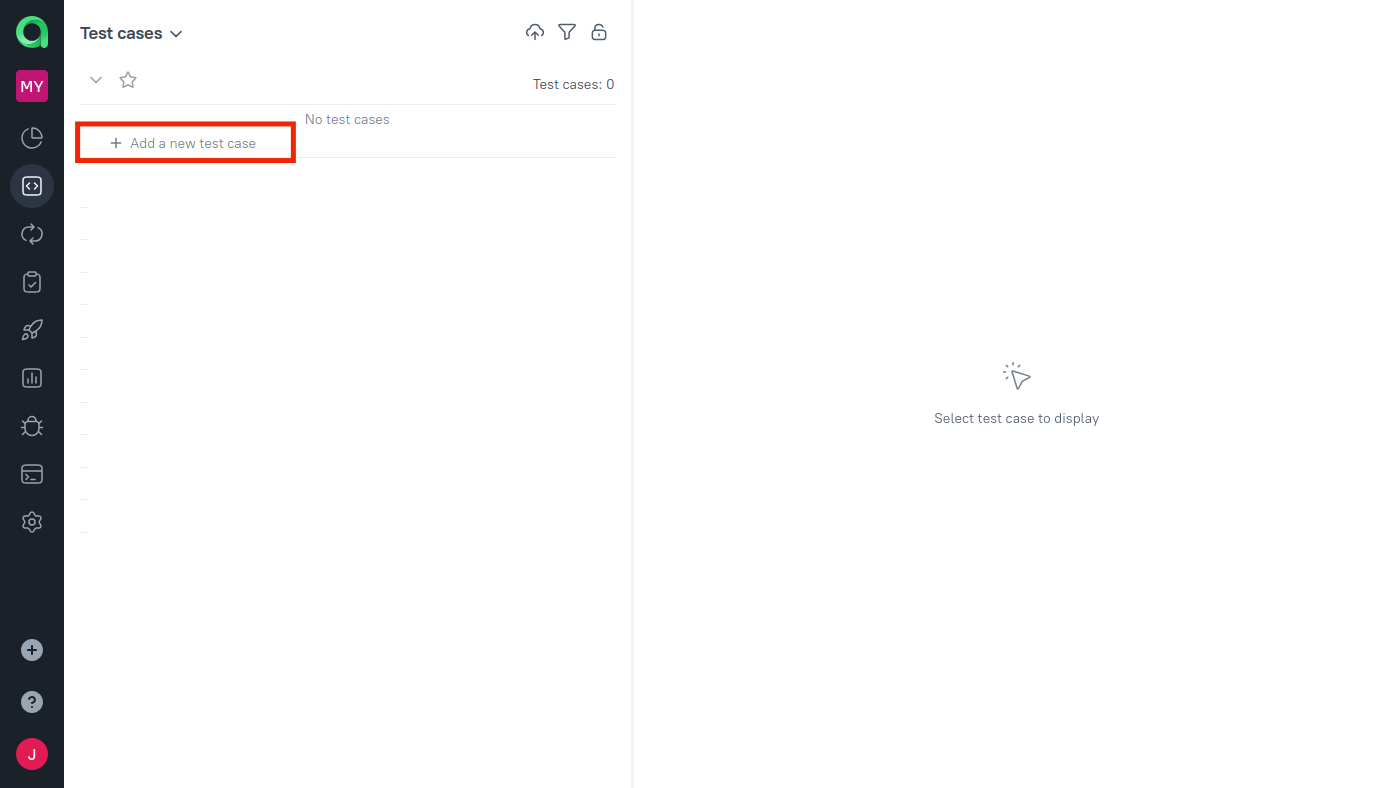
Go to Test cases.
At the bottom of the screen, click + Test Case, type a name for the new test case, and press Enter.
Click the test case you just created to reveal the details panel on the right side of the page.
Edit the scenario: a series of steps that a QA engineer will need to perform. Whenever a step involves a complex enough action, feel free to add sub-steps to make it clearer.
If needed, use the following keys:
- Enter — finish editing the step and create a new one;
- ↑ and ↓ — select a different step;
- Tab and Shift+Tab — change the step's nesting level.
You can use different types of steps in scenarios, including shared steps, which are steps that can be reused in multiple test cases. For more information on working with test scenarios, see Manual test scenario.
Optionally, add other useful attributes such as description, tags, or assigned users. To learn more, see the Test cases article.
If the test case is ready to use, move it from Draft to the workflow status your team uses for executable tests, such as Active. For more about test case workflows, see Workflow statuses.
Run it in a launch
Once you have created a test case, run it through a launch so the project gets its first shared execution record.
In the Test cases section, select test cases you want to run.
At the bottom of the screen, click Run.
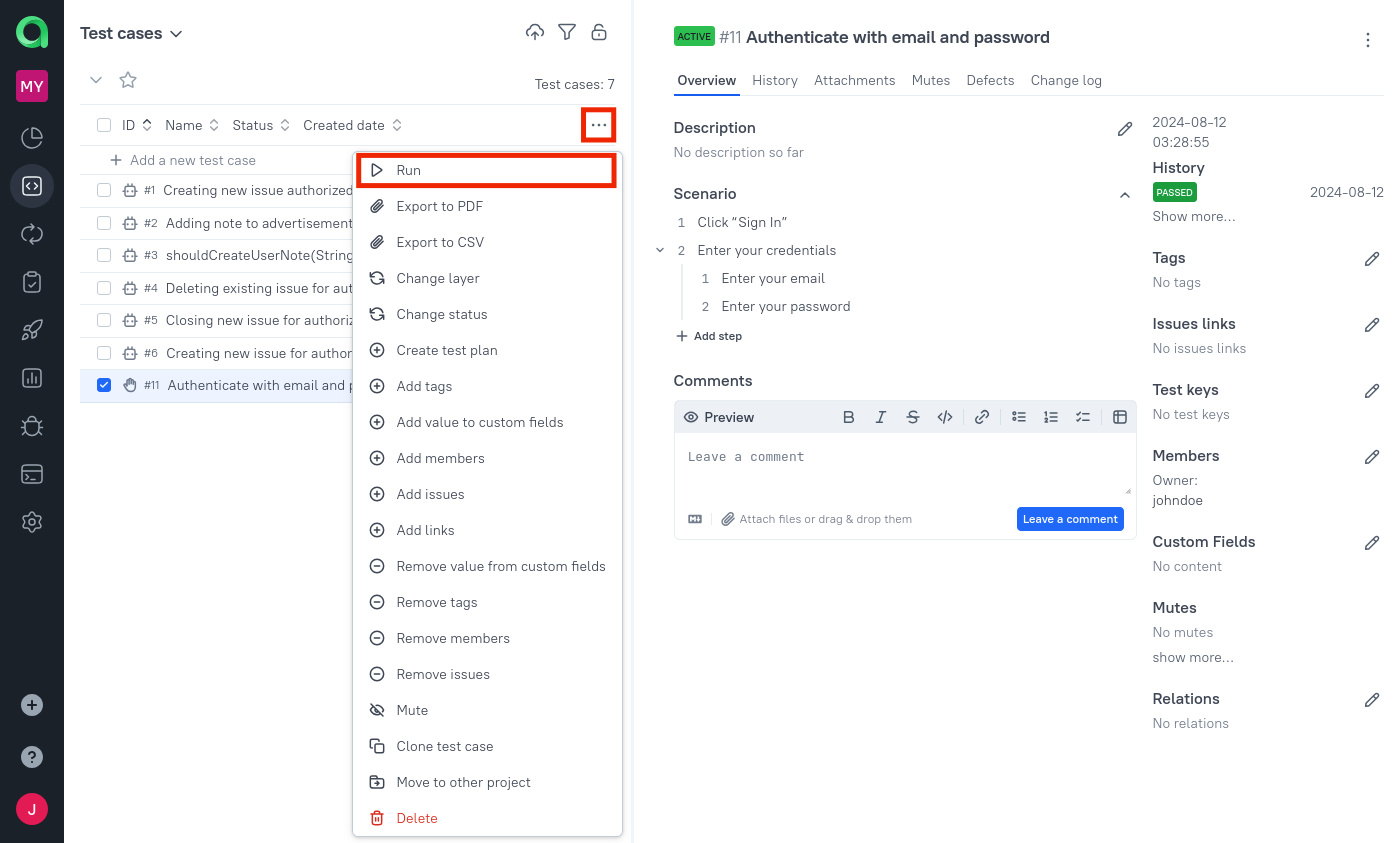
In the modal form that appears, click Submit.
At this point, a new launch will be created. For now, all you need to know is that the new launch is in the Open state, in which Allure Allure TestOps allows entering and editing the data about the attempts.
Open the created launch from the notification, or go to Launches and open it there.
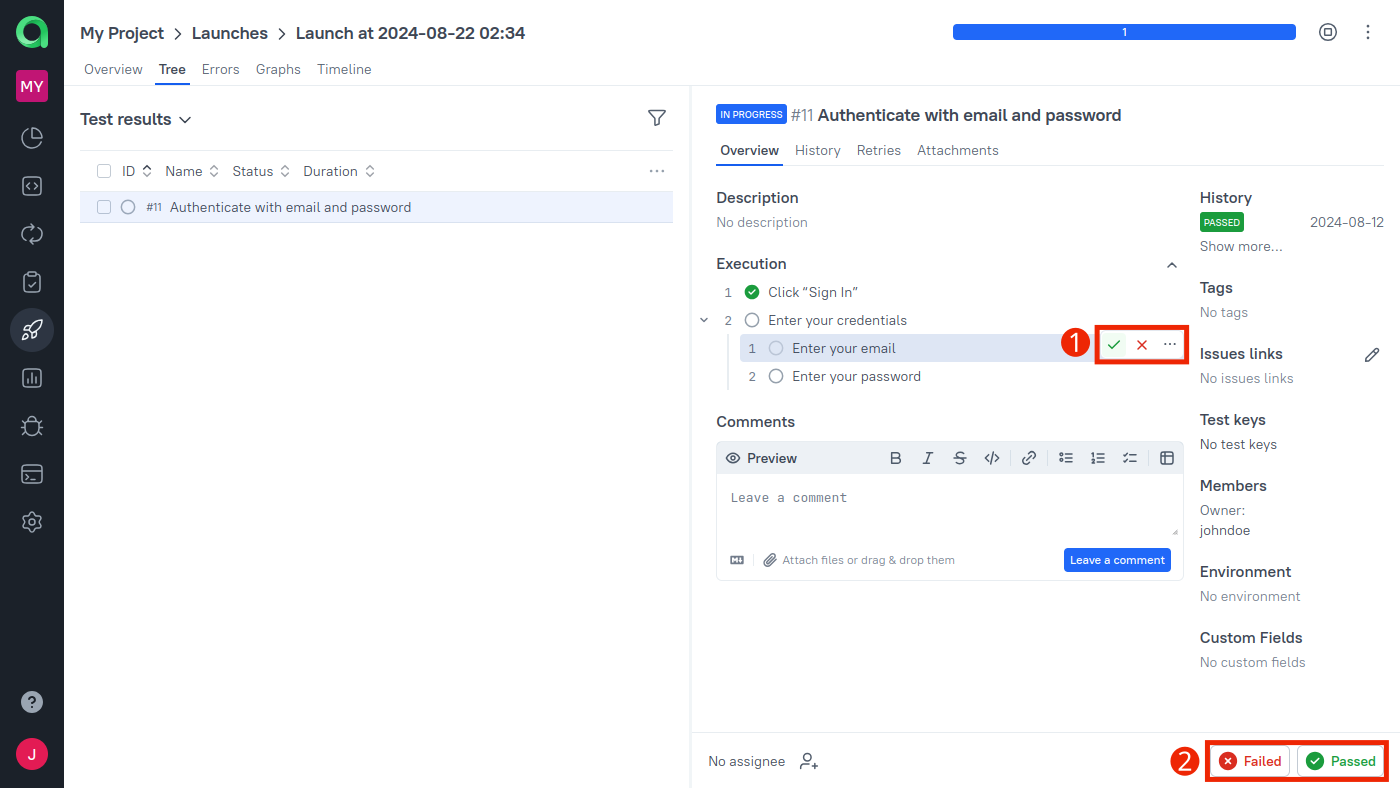
On the launch page, go to the Tree tab and click your test.
Start performing the necessary tasks in the application you are testing. While you are doing so, enter your progress into the right panel.
- If the test has a scenario (the steps and sub-steps you entered earlier), make sure to indicate whether each step ended with a success or a failure.
- Once you have finished an attempt, click the Failed or Passed button on the bottom. If you click Failed, a dialog will appear for entering more information.
When the run is complete, click the Close launch icon.
What's next?
- Review the first launch to confirm the manual run makes sense to the team.
- Run an automated test if you also want to see uploaded results in the same project.
- Create a combined launch if you want manual and automated evidence in one place.
