AWS CodePipeline
AWS CodePipeline integration upload test results from a CodeBuild-based pipeline run to an Allure TestOps launch using allurectl.
Before you begin
- An existing AWS CodePipeline pipeline, or permission to create one.
- A CodeBuild stage that runs the tests.
- Permission to edit CodeBuild environment variables and
buildspec.yml. - The TestOps instance URL and numeric project ID.
- A TestOps API token.
- Permission to update the CodeBuild service role if you need pipeline-state lookup.
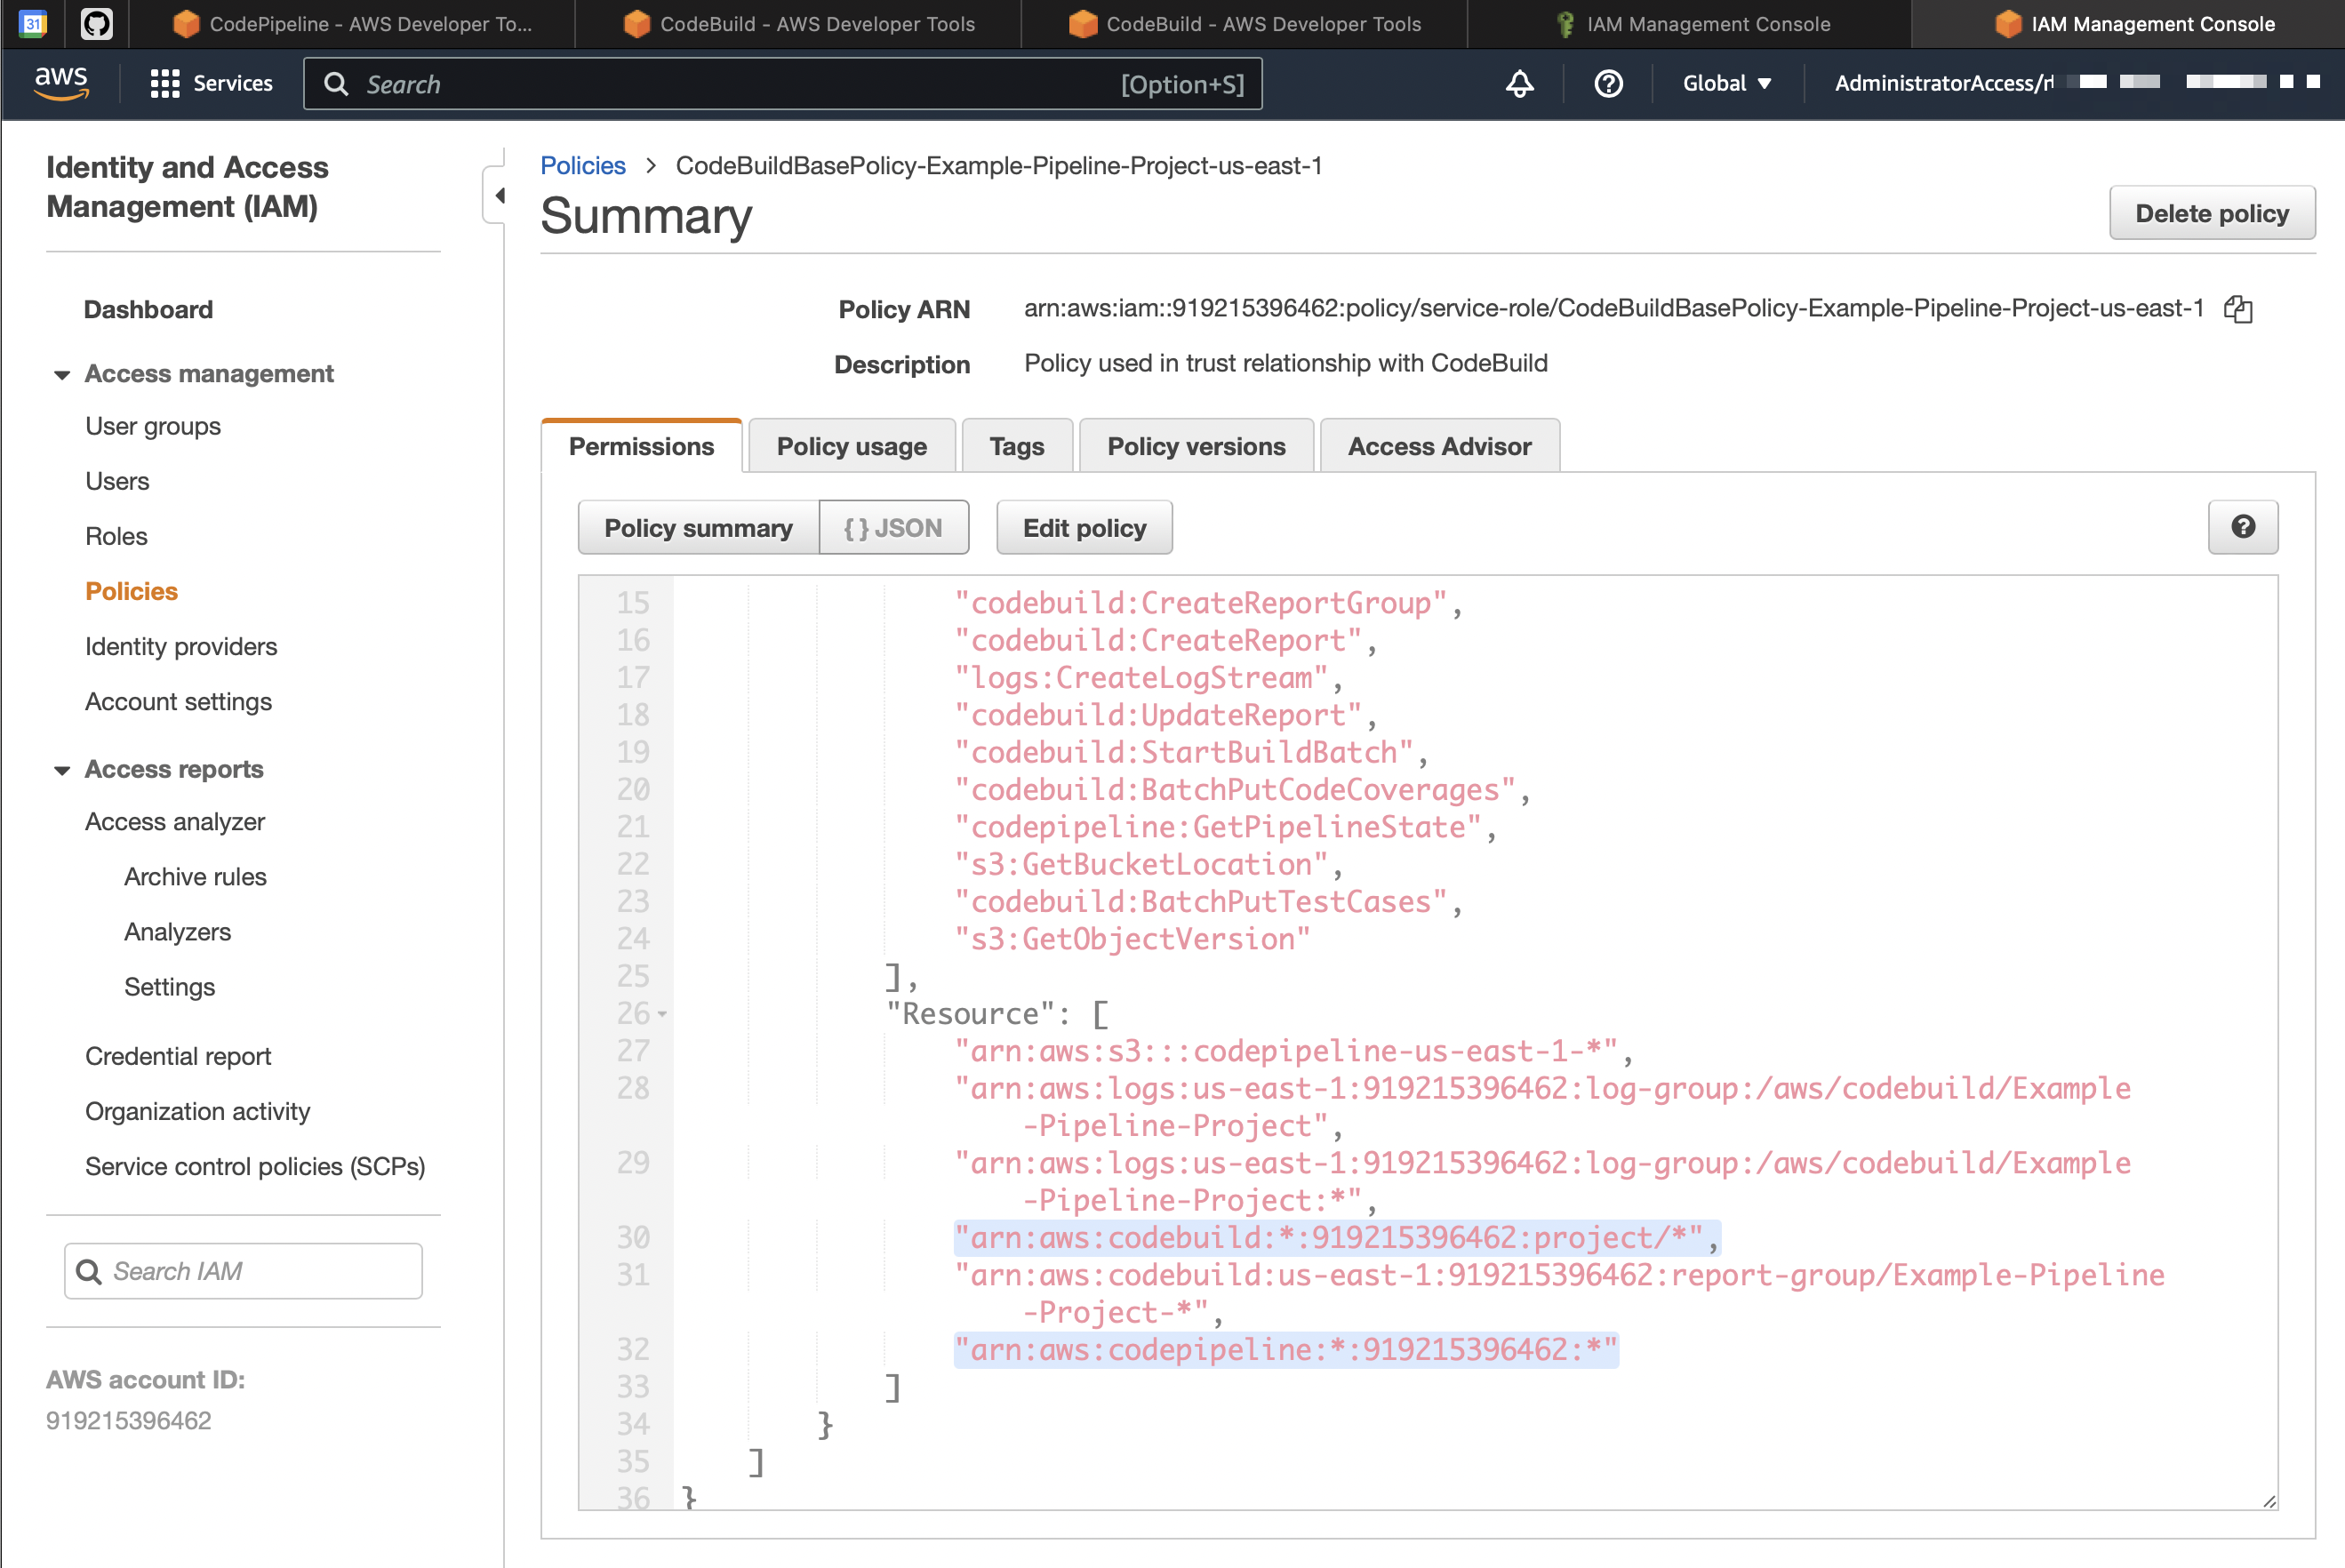
When TestOps needs to follow AWS build state, the CodeBuild service role requires these actions on the relevant resources:
codebuild:BatchGetBuildscodebuild:BatchGetBuildBatchescodepipeline:GetPipelineState
1. Send results from CodeBuild to TestOps
Create or update the CodePipeline pipeline
If the pipeline already exists, start from the build stage that runs the tests. If not, create the pipeline first:
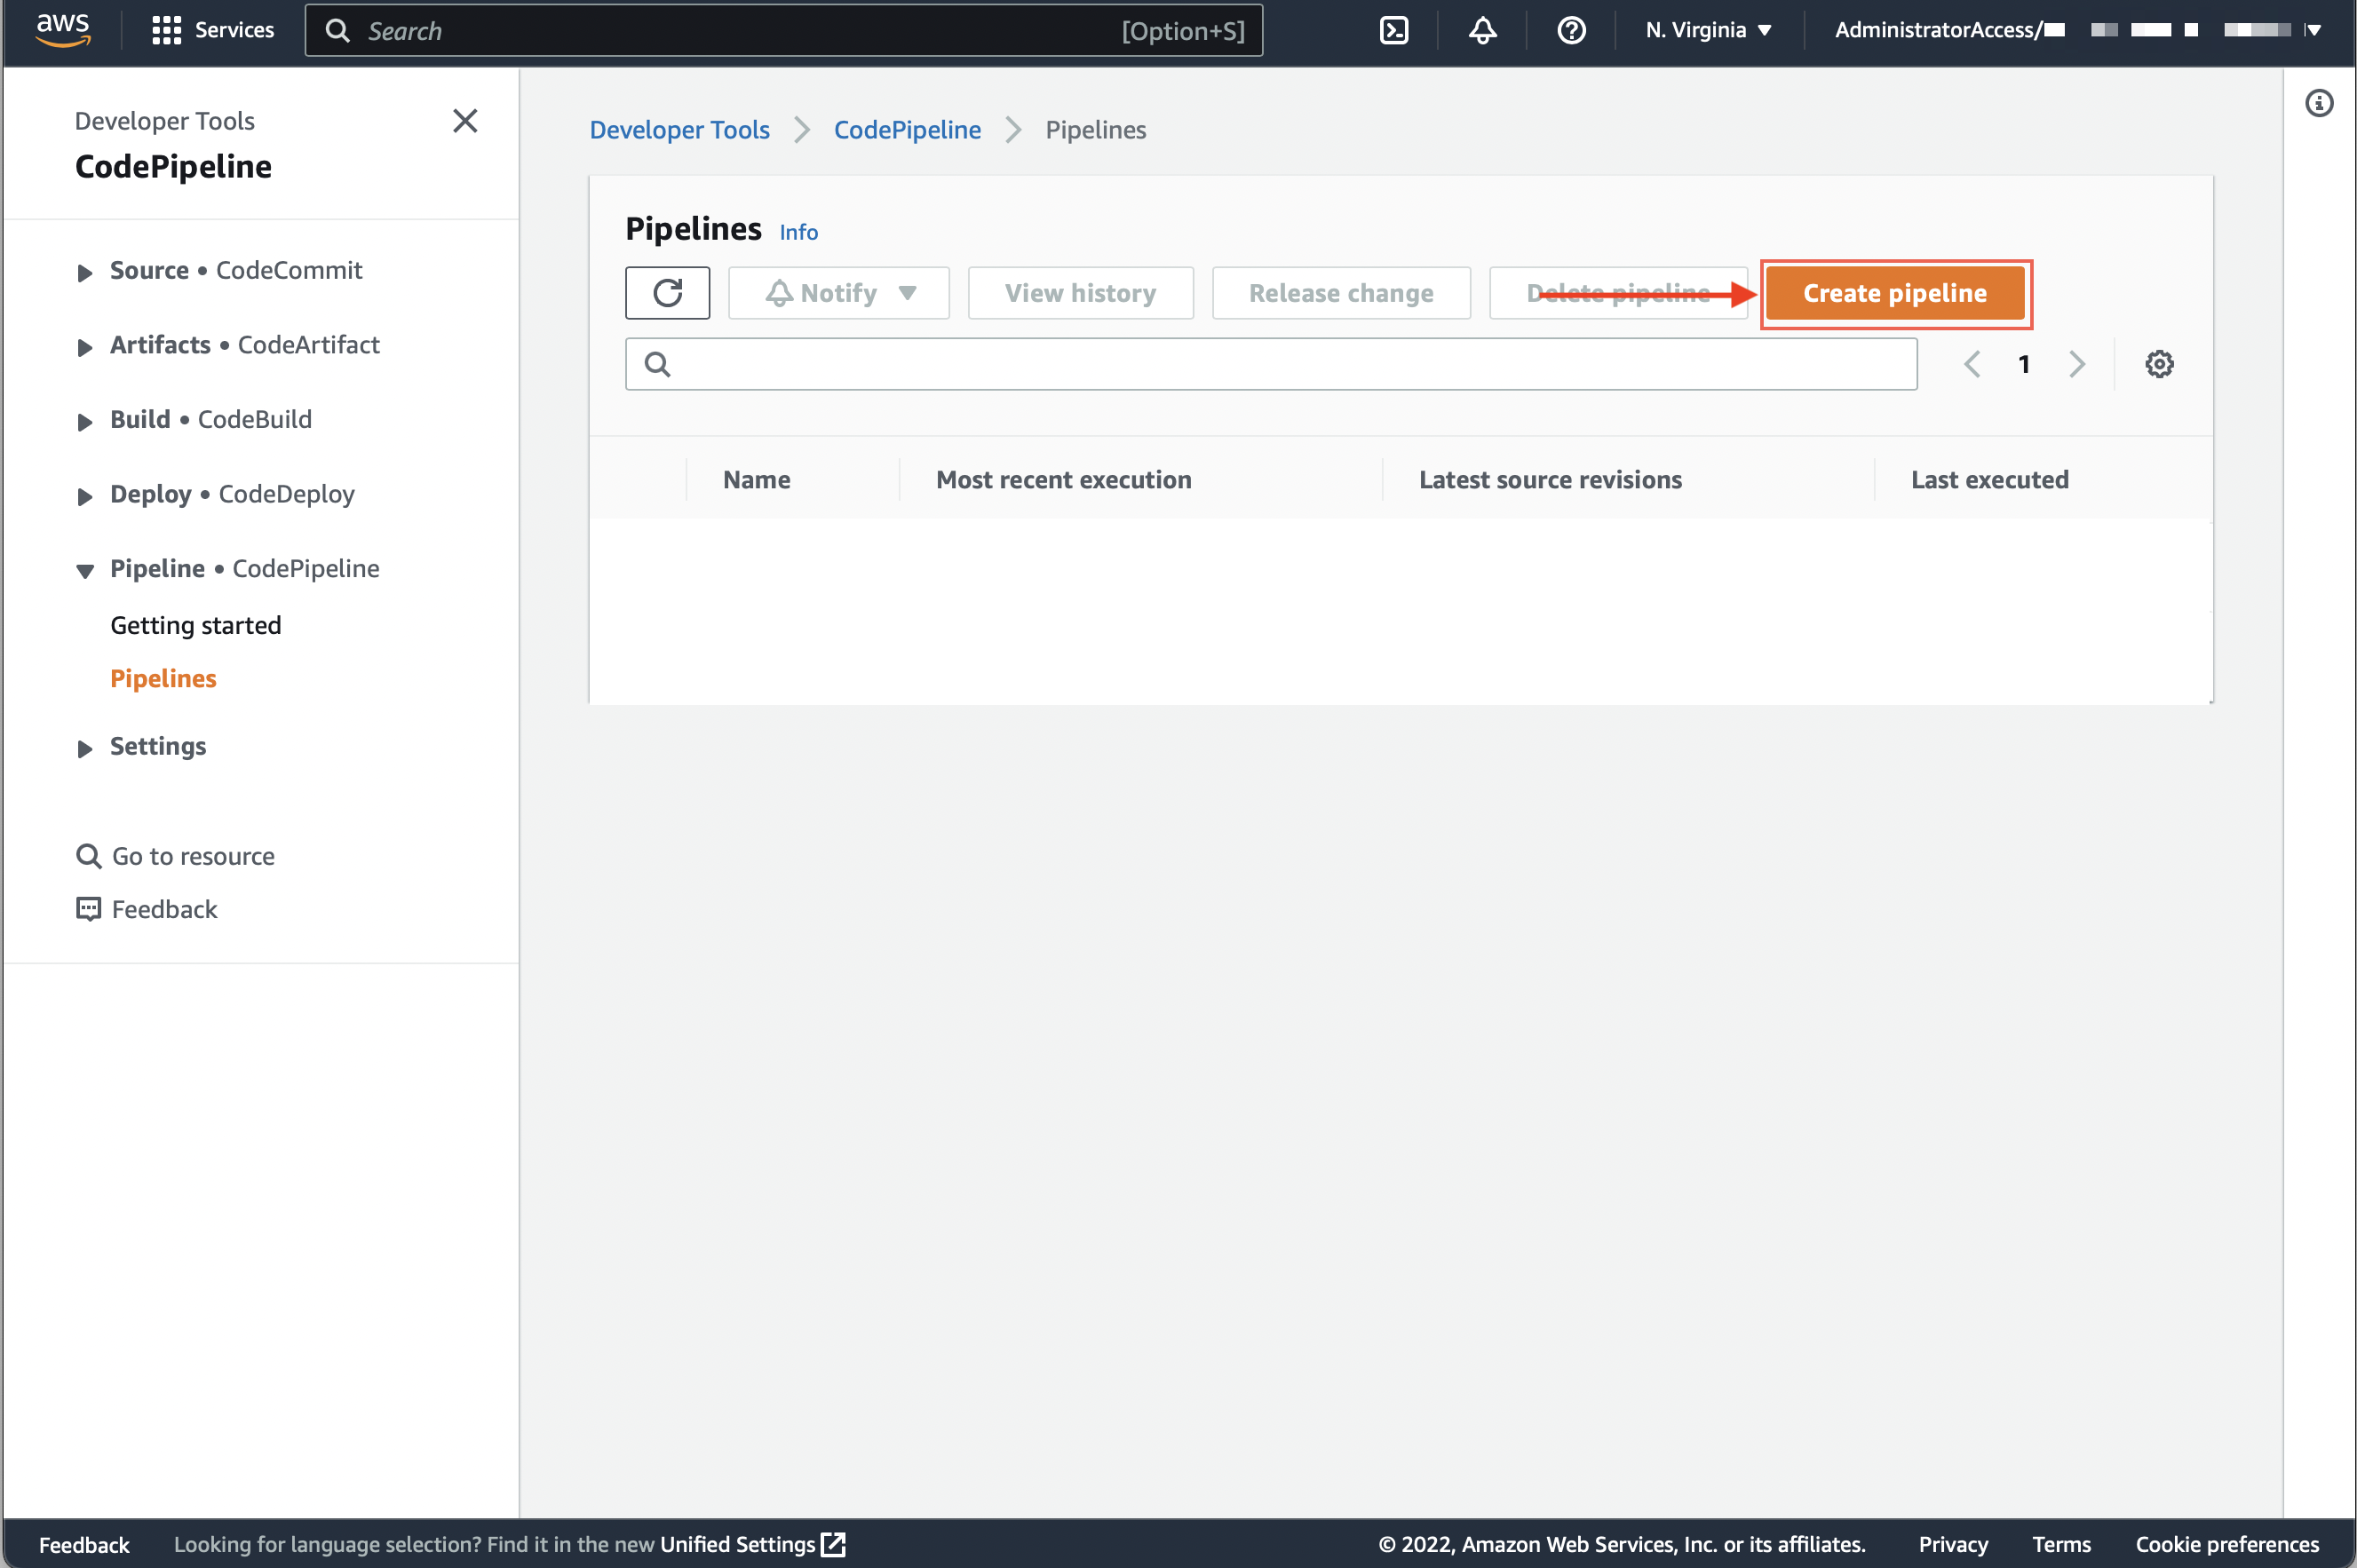
In AWS, open Developer Tools → CodePipeline.
Open Pipelines and click Create pipeline.
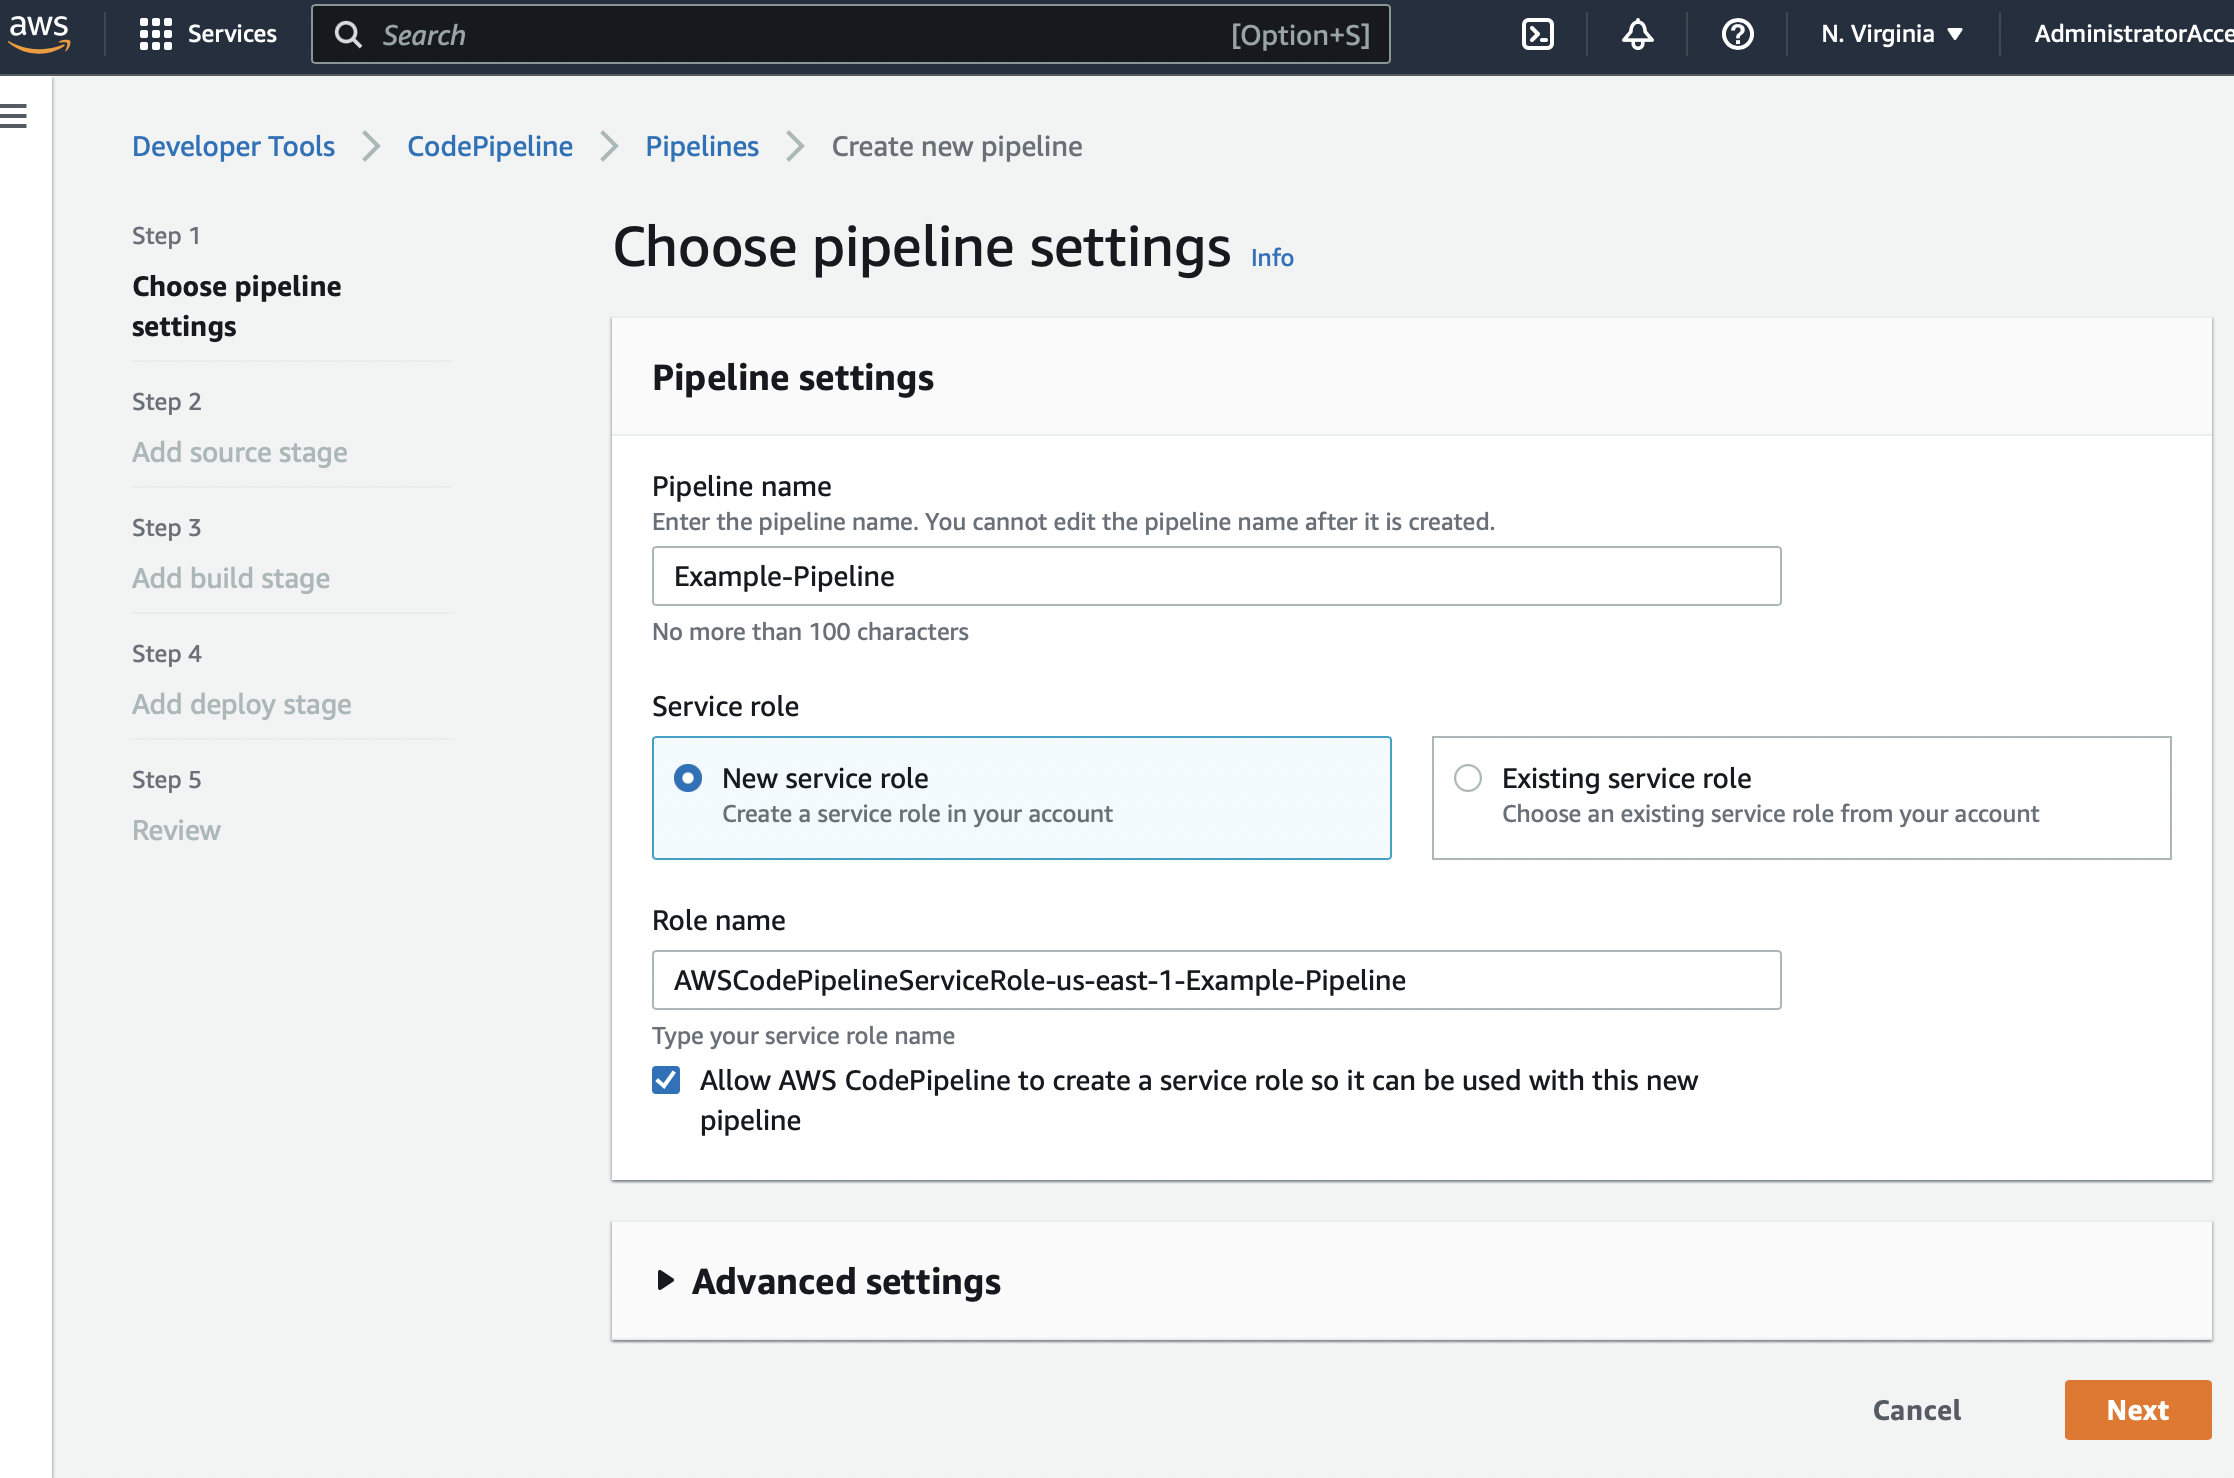
Choose a pipeline name and assign a new or existing CodePipeline service role.
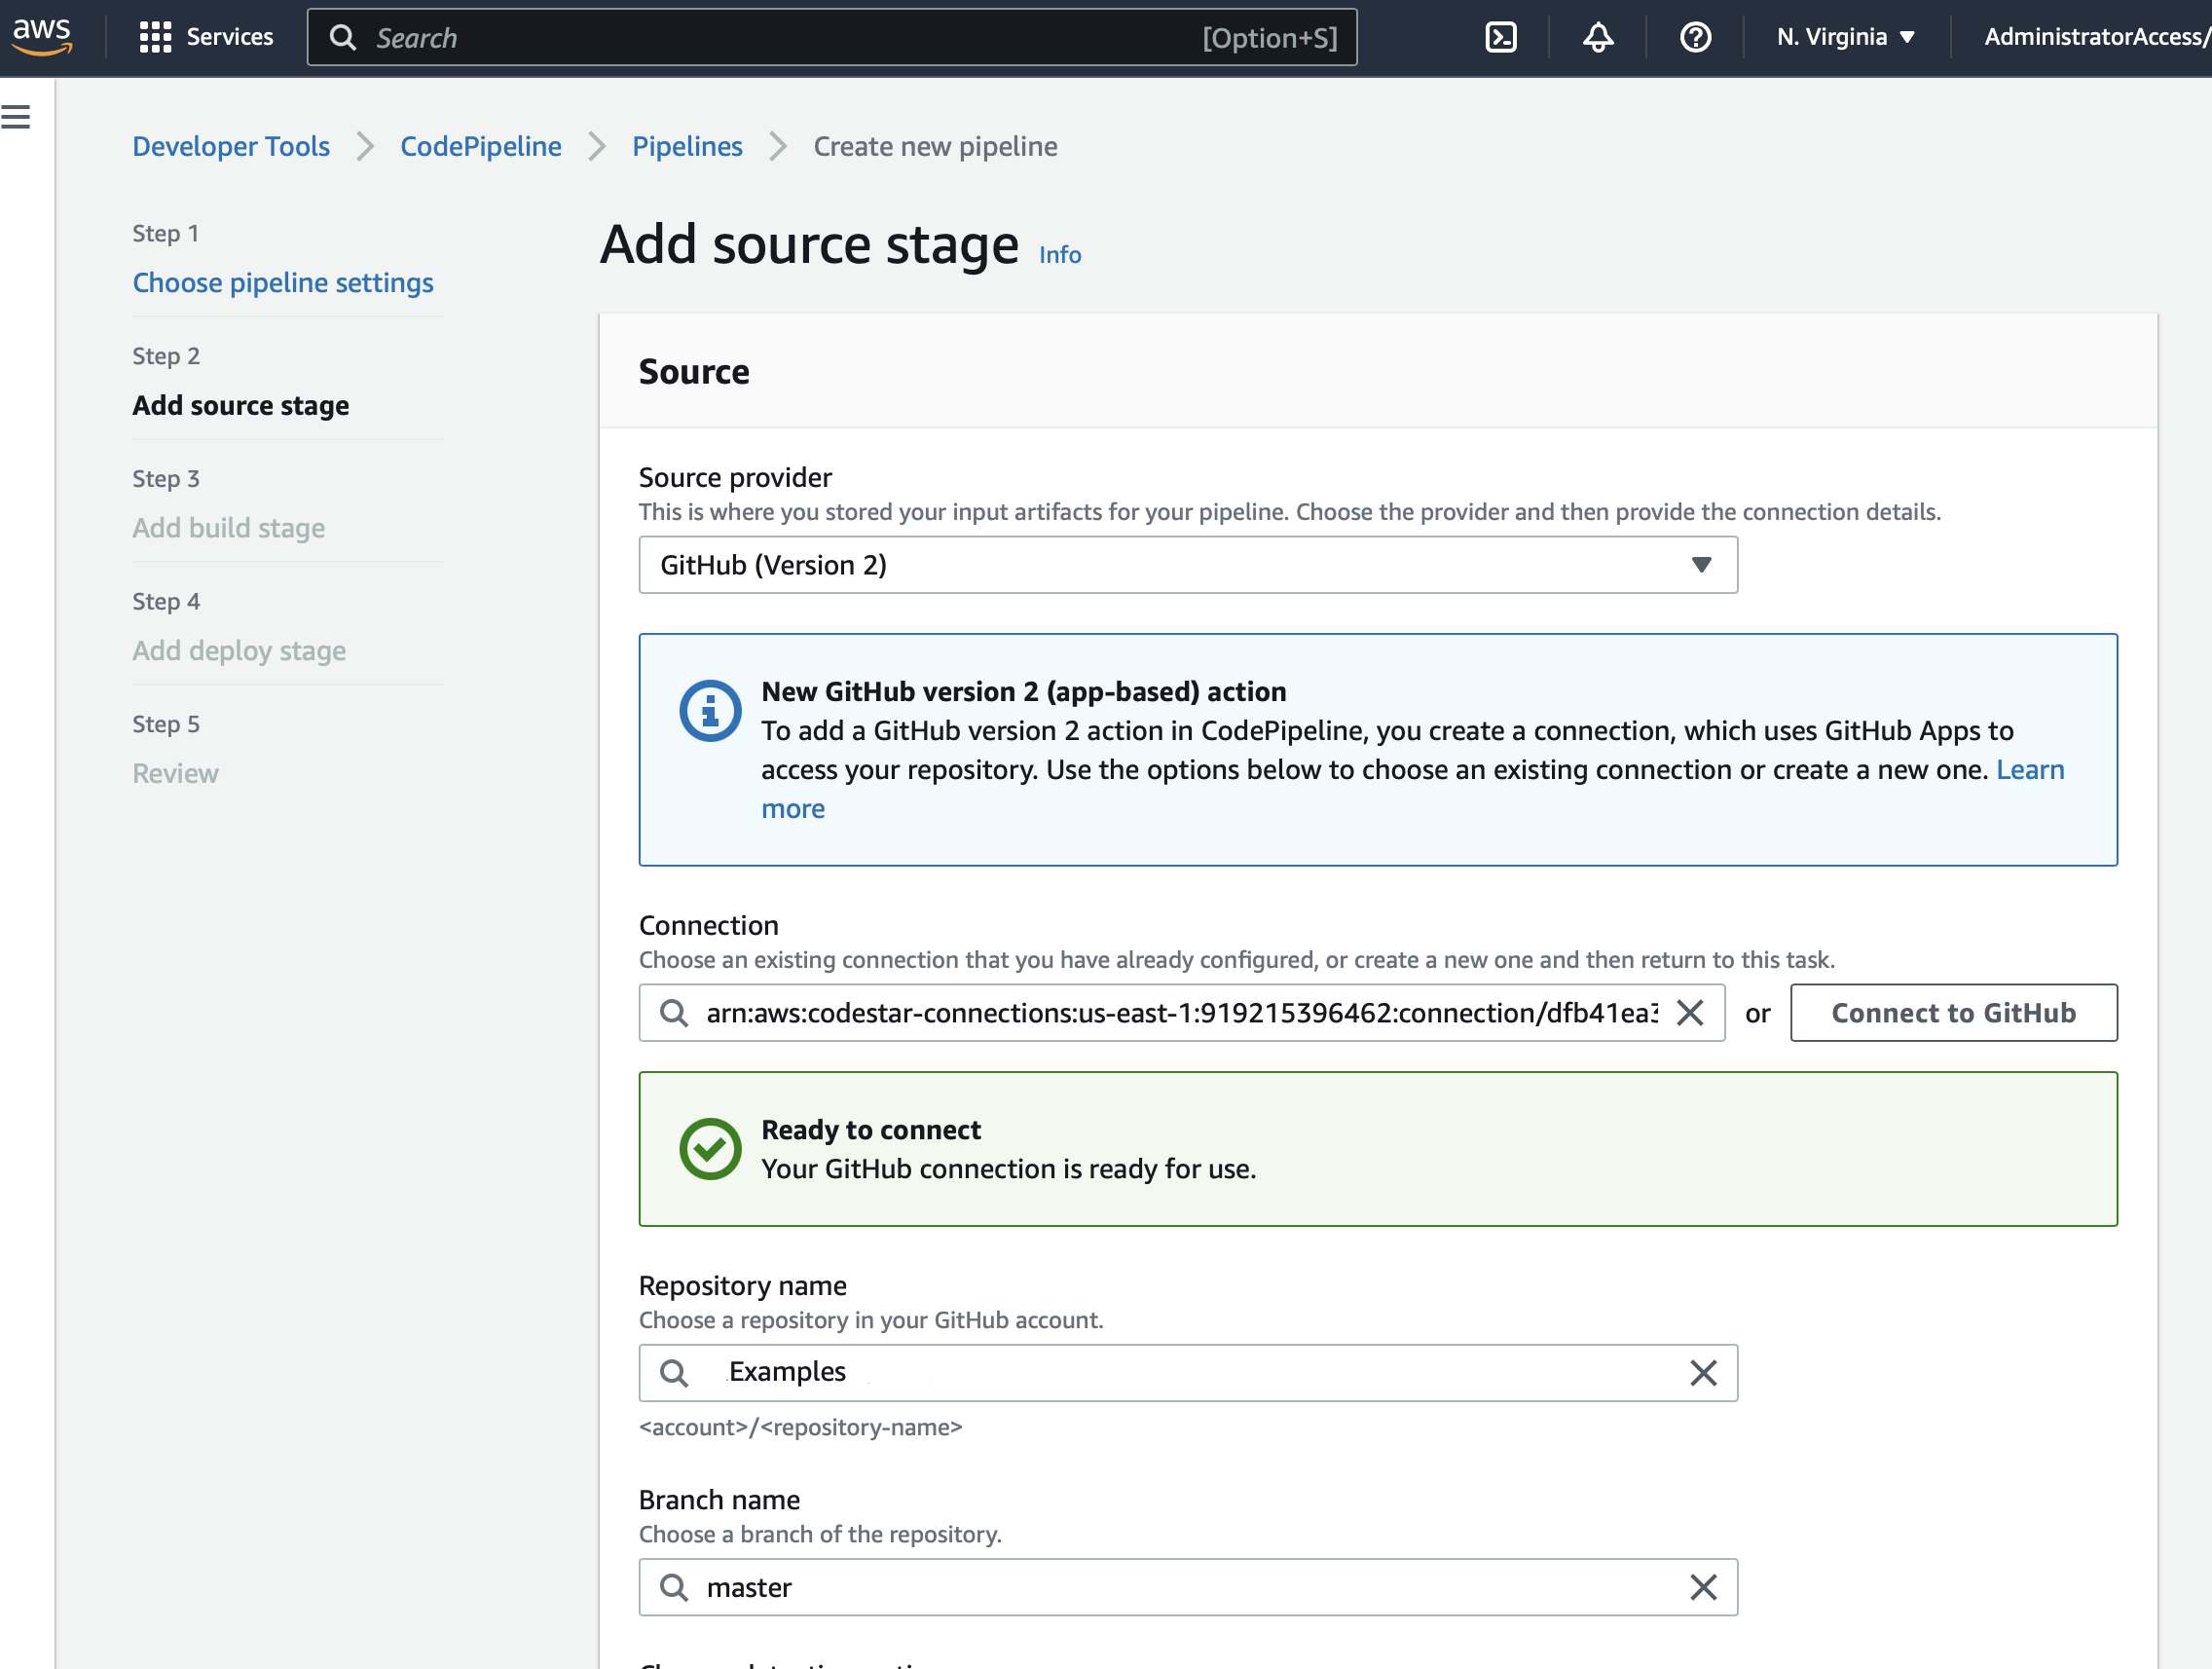
Add the source repository for the code that contains the tests.
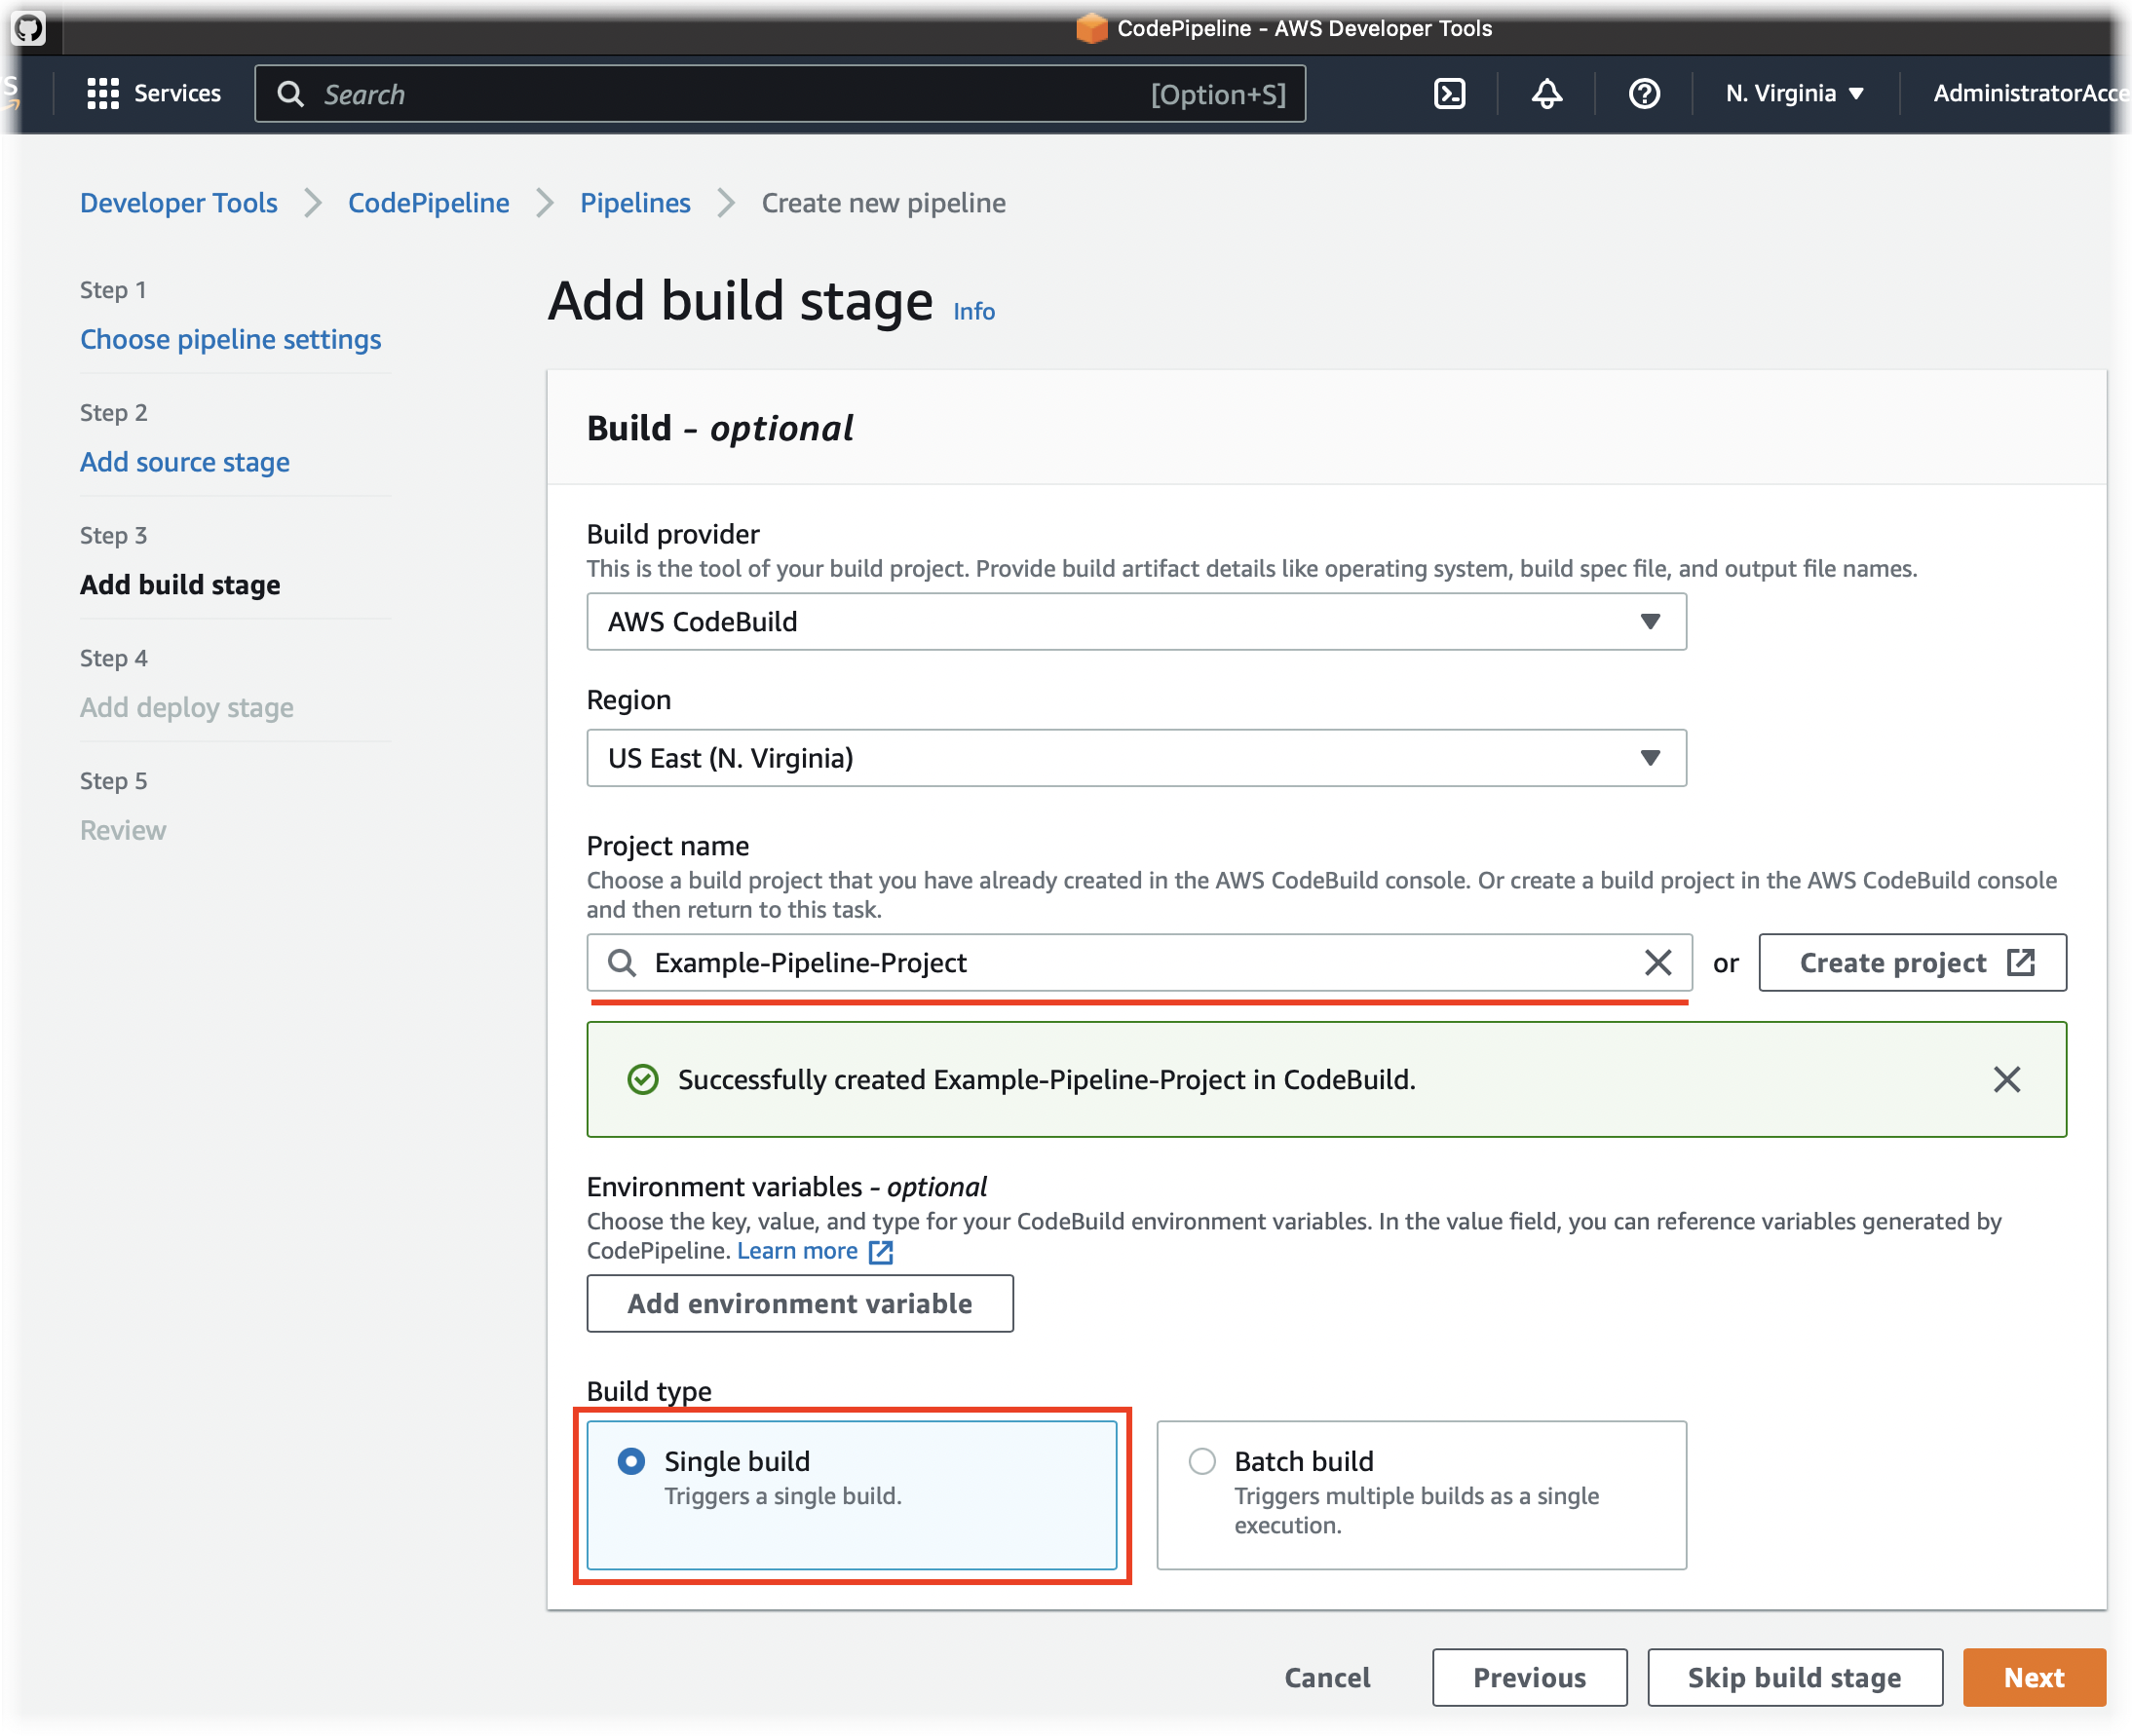
Add a build stage and create a new CodeBuild project or select an existing one.
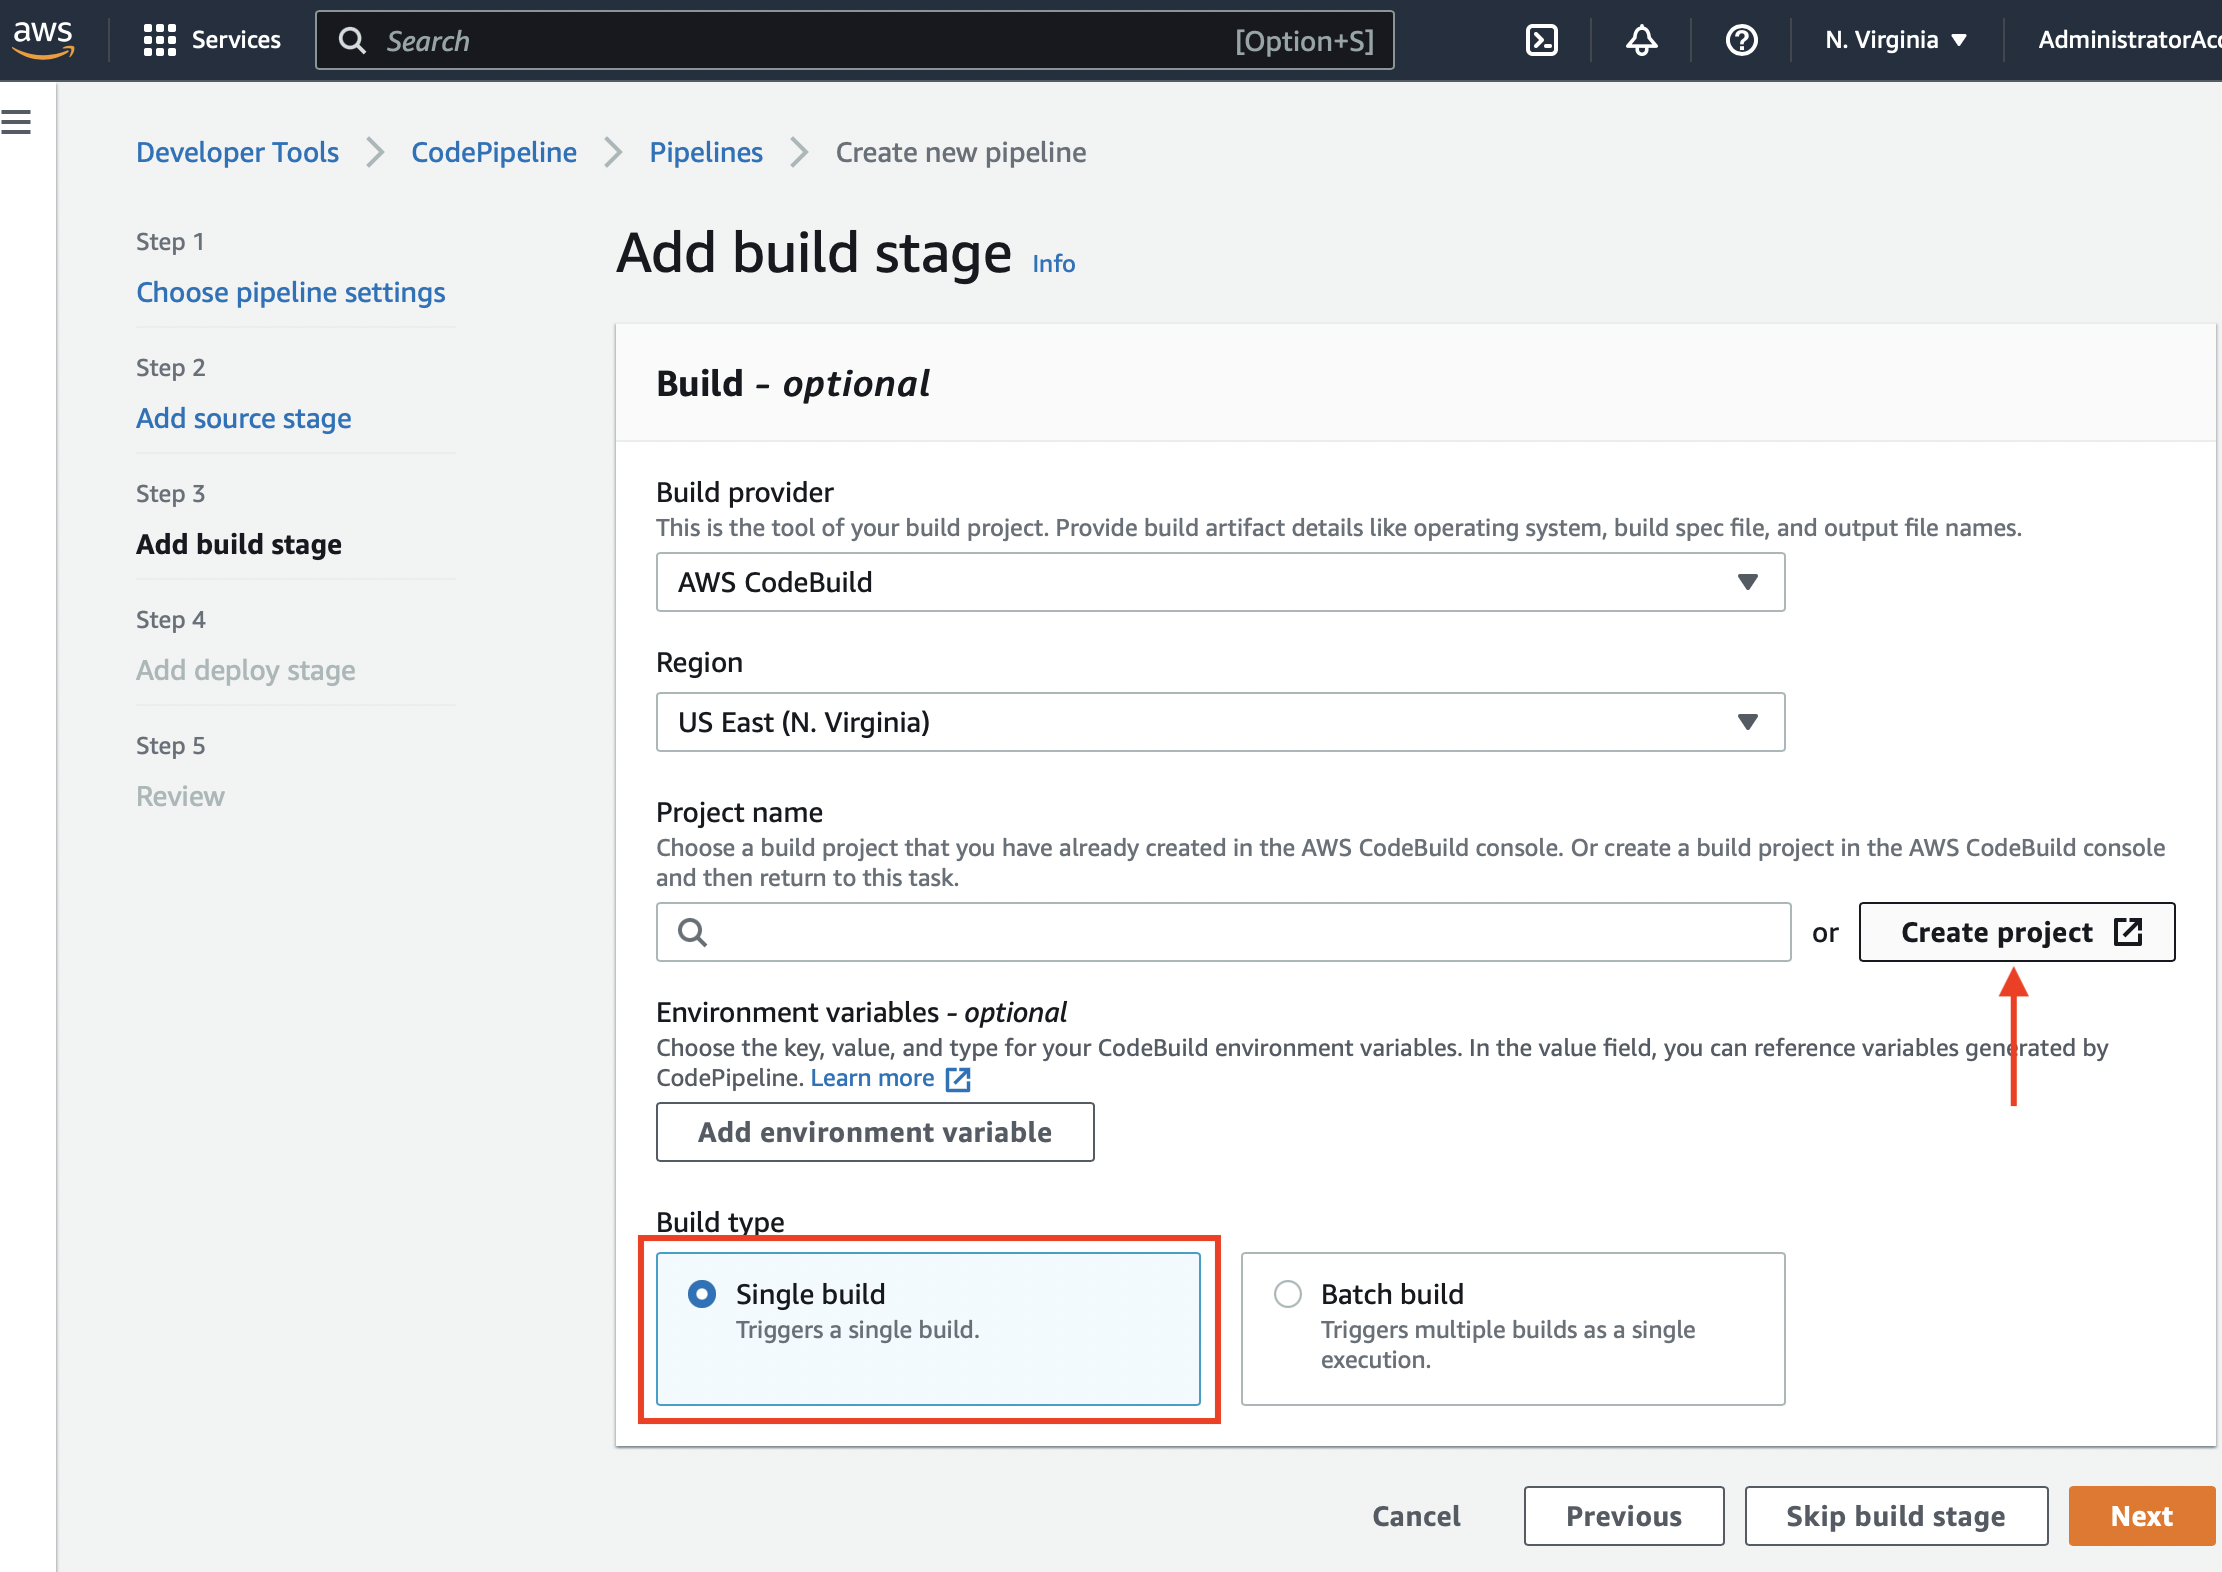
When creating a new CodeBuild project, fill in the project form that appears:
- Name — give the project a stable name distinct from the pipeline name.
- Environment — select the build image and runtime that can execute the test command and produce Allure results.
- Service role — assign the CodeBuild service role that will run the build. You can reuse an existing CodeBuild role or create a new one; do not confuse it with the CodePipeline service role.
- Add any other project-specific settings such as timeouts, compute resources, or certificates.
Create the TestOps token
- In Allure TestOps, click your avatar and open API Tokens.
- Click + Token.
- Enter a name for the token, for example
Token for AWS, and click Create. - Copy the generated token. Save it in a secure location — it cannot be retrieved through Allure TestOps after you close the dialog.
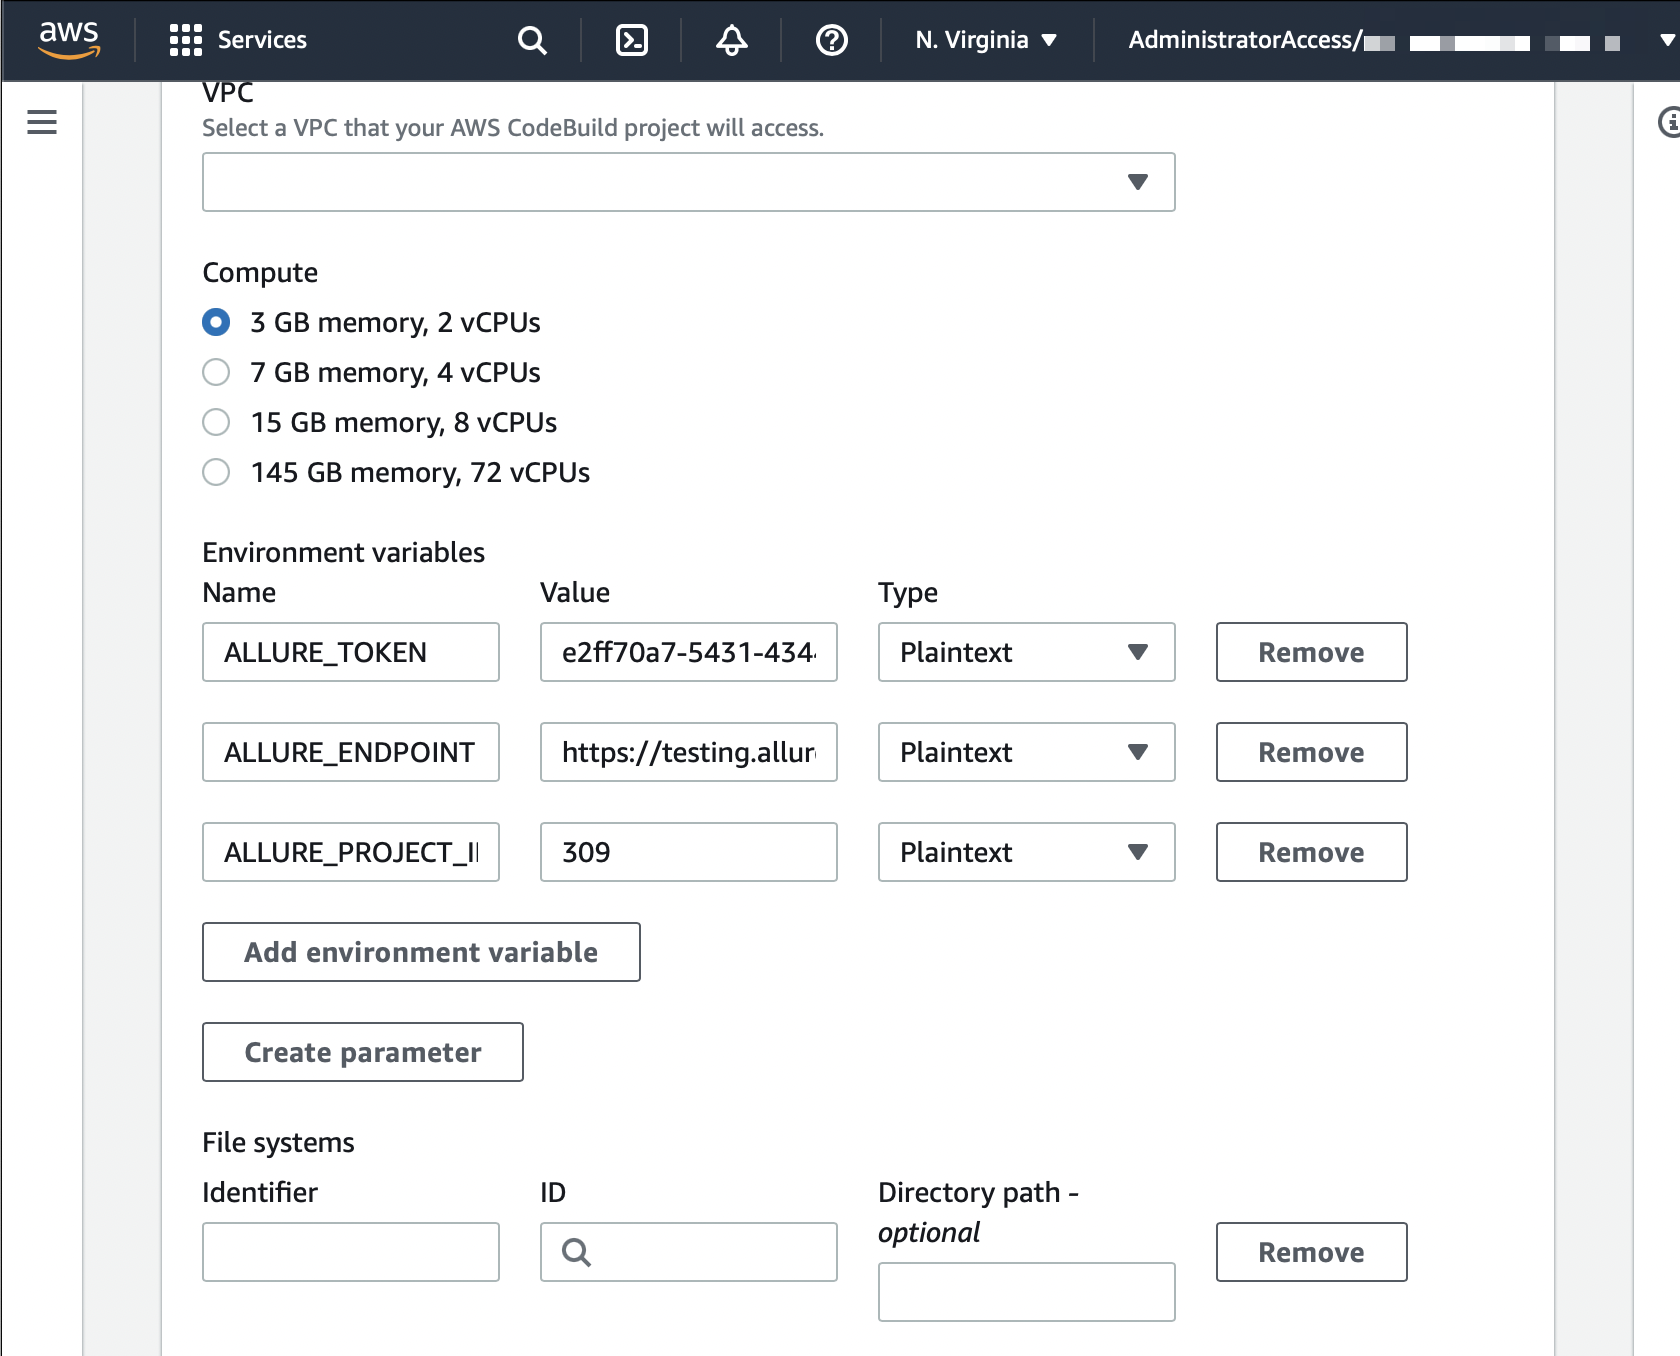
Add the upload variables to CodeBuild
Add these environment variables to the CodeBuild project that executes the tests:
| Variable | Meaning |
|---|---|
ALLURE_ENDPOINT |
Base URL of the TestOps instance |
ALLURE_TOKEN |
TestOps API token |
ALLURE_PROJECT_ID |
Numeric TestOps project ID |
ALLURE_RESULTS |
Path to the Allure results directory |
ALLURE_LAUNCH_NAME |
Optional launch name |
If you store the token in AWS Secrets Manager, inject it into the same environment where the test command runs.
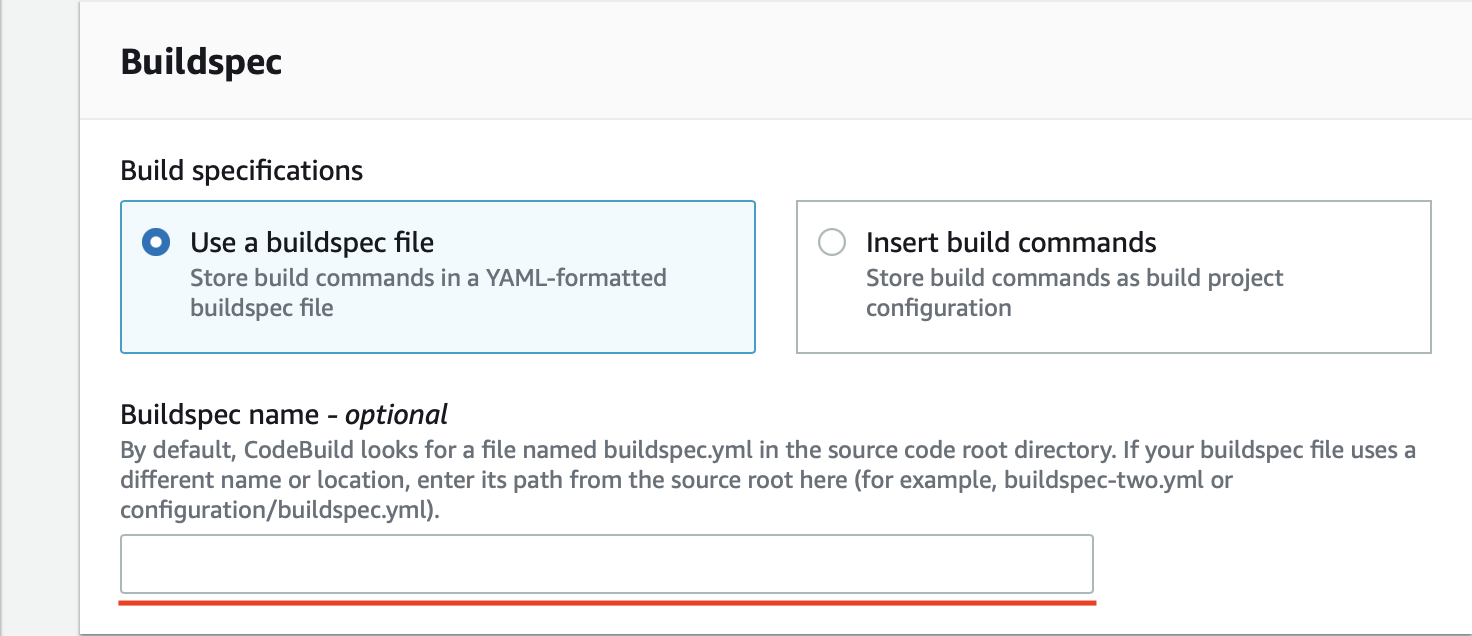
Update buildspec.yml
Download allurectl and wrap the test command with watch so TestOps receives results while the build is still running:
version: 0.2

phases:
  install:
    commands:
      - curl -fsSL https://github.com/allure-framework/allurectl/releases/latest/download/allurectl_linux_amd64 -o allurectl
      - chmod +x allurectl
  build:
    commands:
      - ./allurectl watch -- ./gradlew clean test
If the buildspec.yml is not in the repository root, point the CodeBuild project at the correct path explicitly.
After saving the buildspec location, return to the CodePipeline flow and finish the build-stage setup:
If the build image does not include
curl, usewgetinstead or prebuild a CodeBuild image that already containsallurectl.
Update the CodeBuild service role for pipeline-state lookup
In AWS, open IAM → Roles.
Find the CodeBuild service role used by the project and open it for editing.
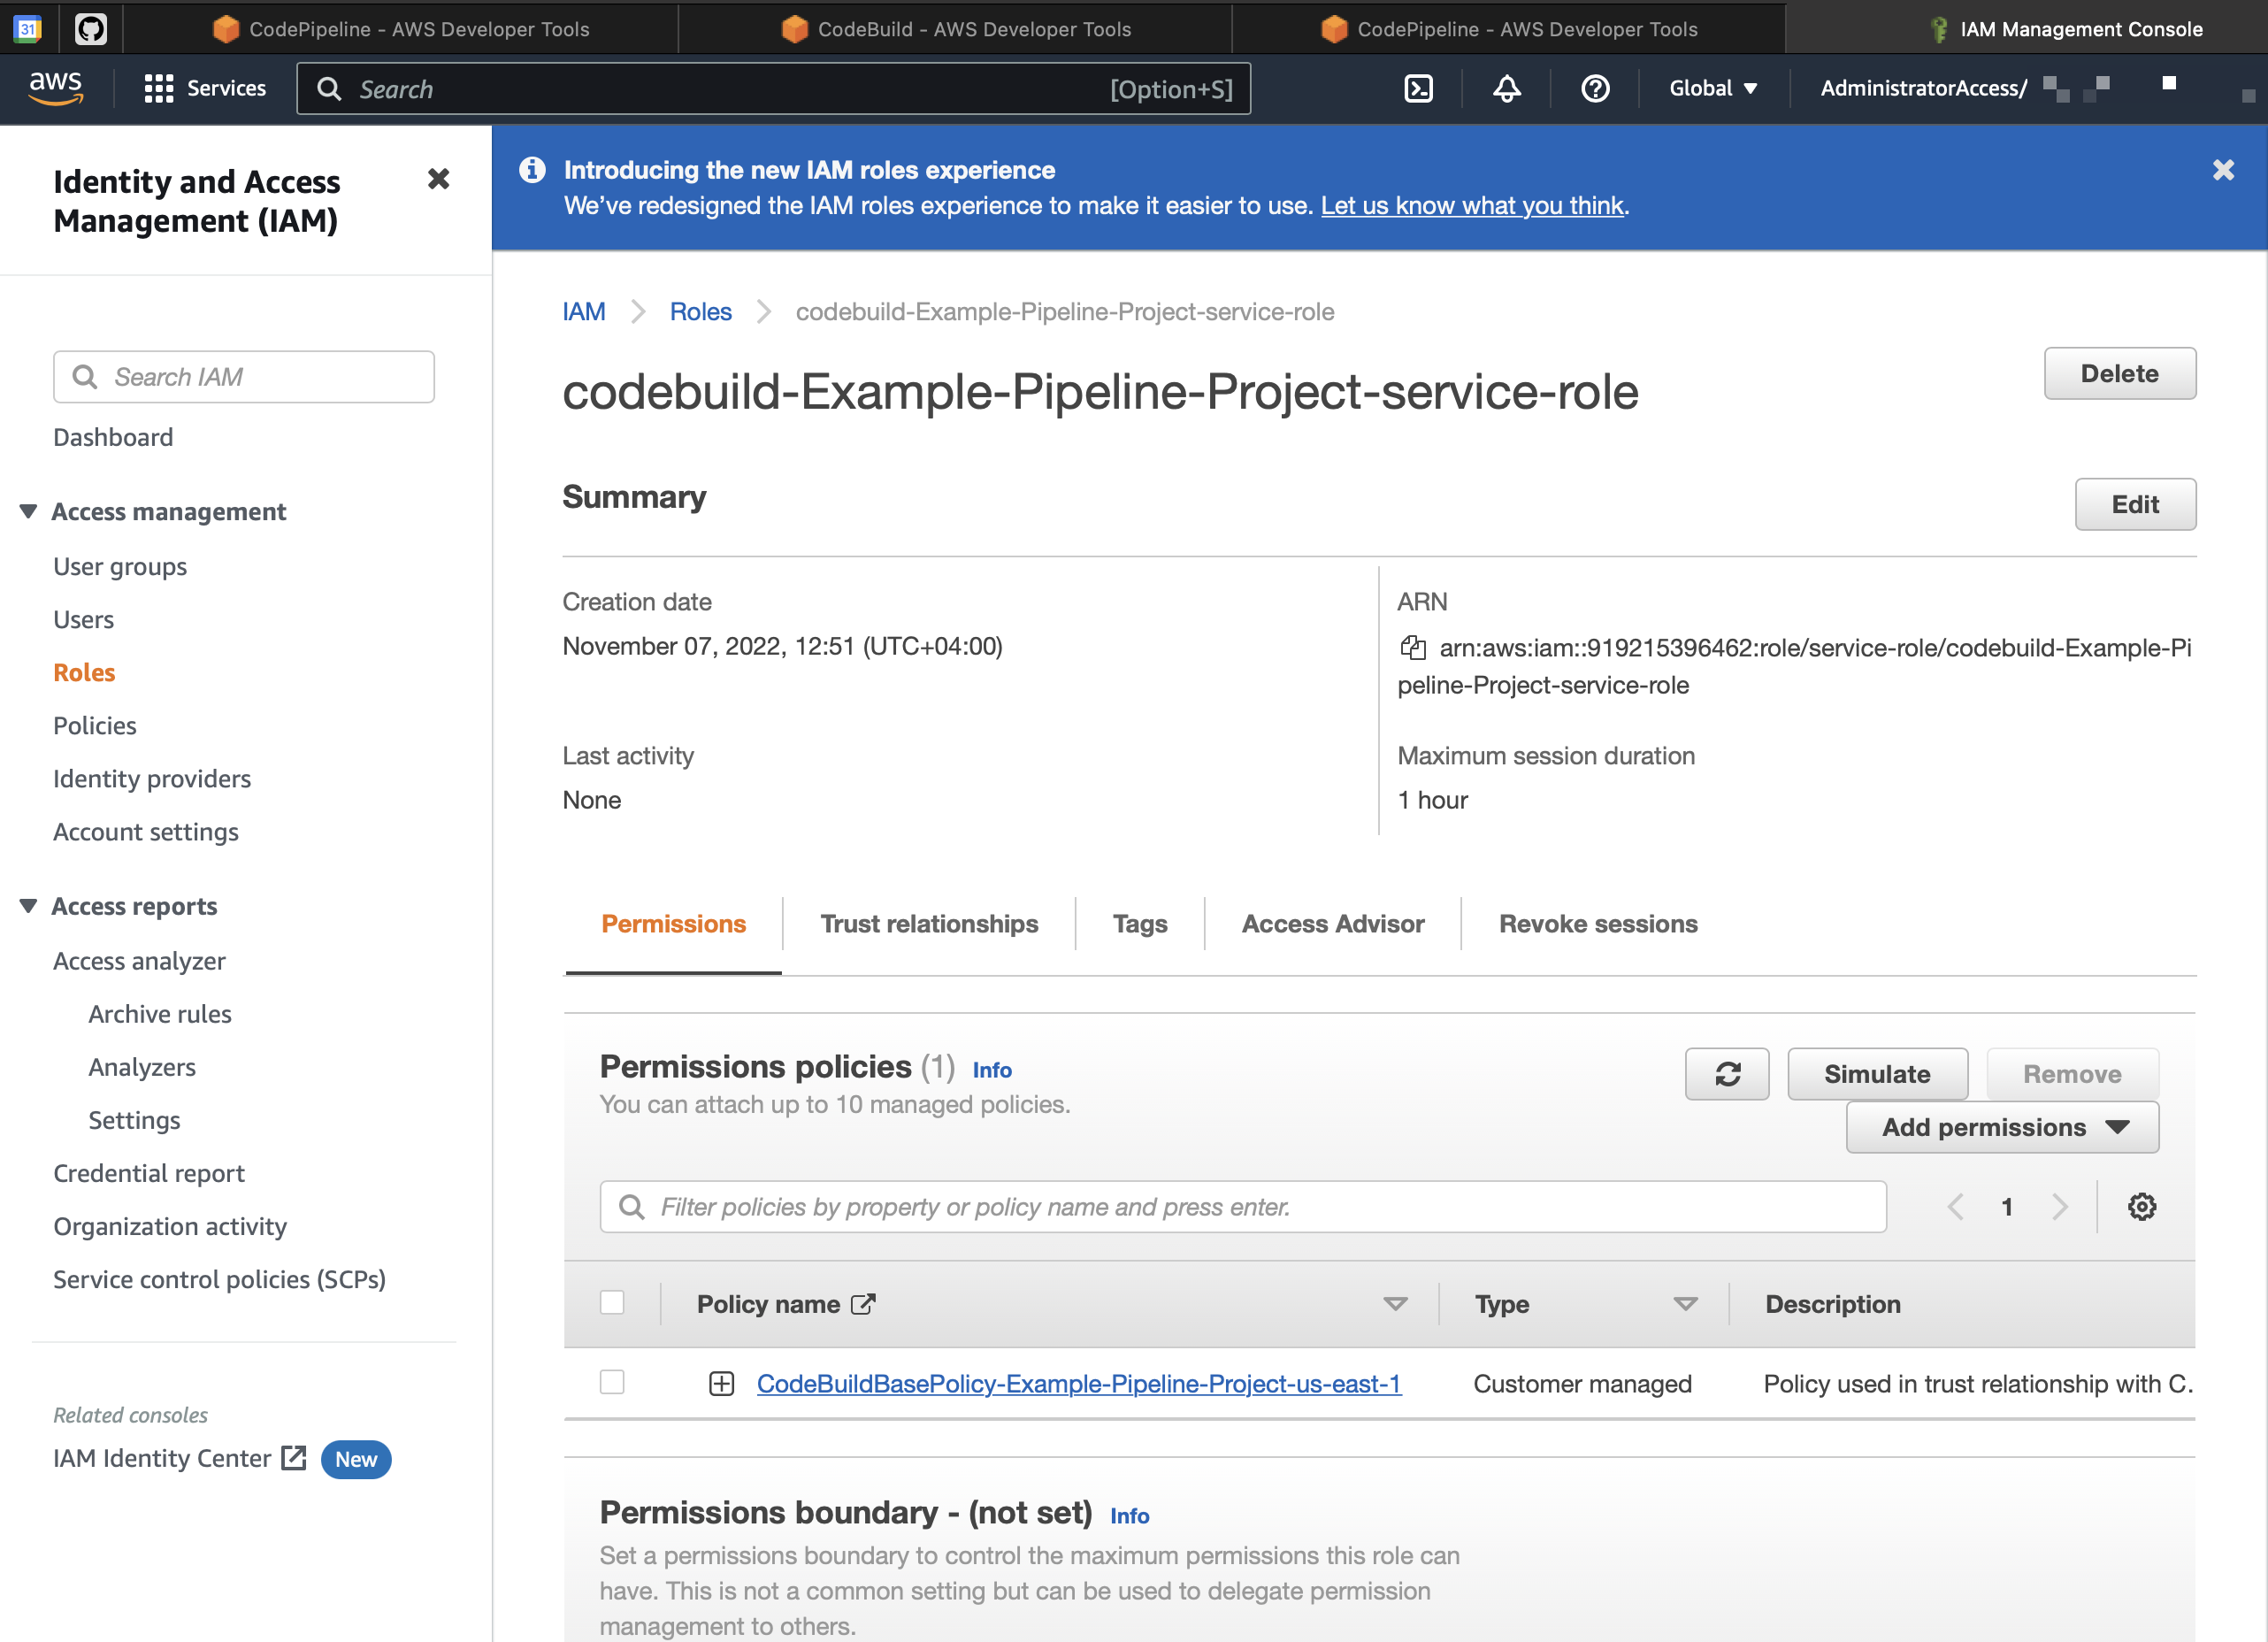
Add the required permissions:
codebuild:BatchGetBuildscodebuild:BatchGetBuildBatchescodepipeline:GetPipelineState
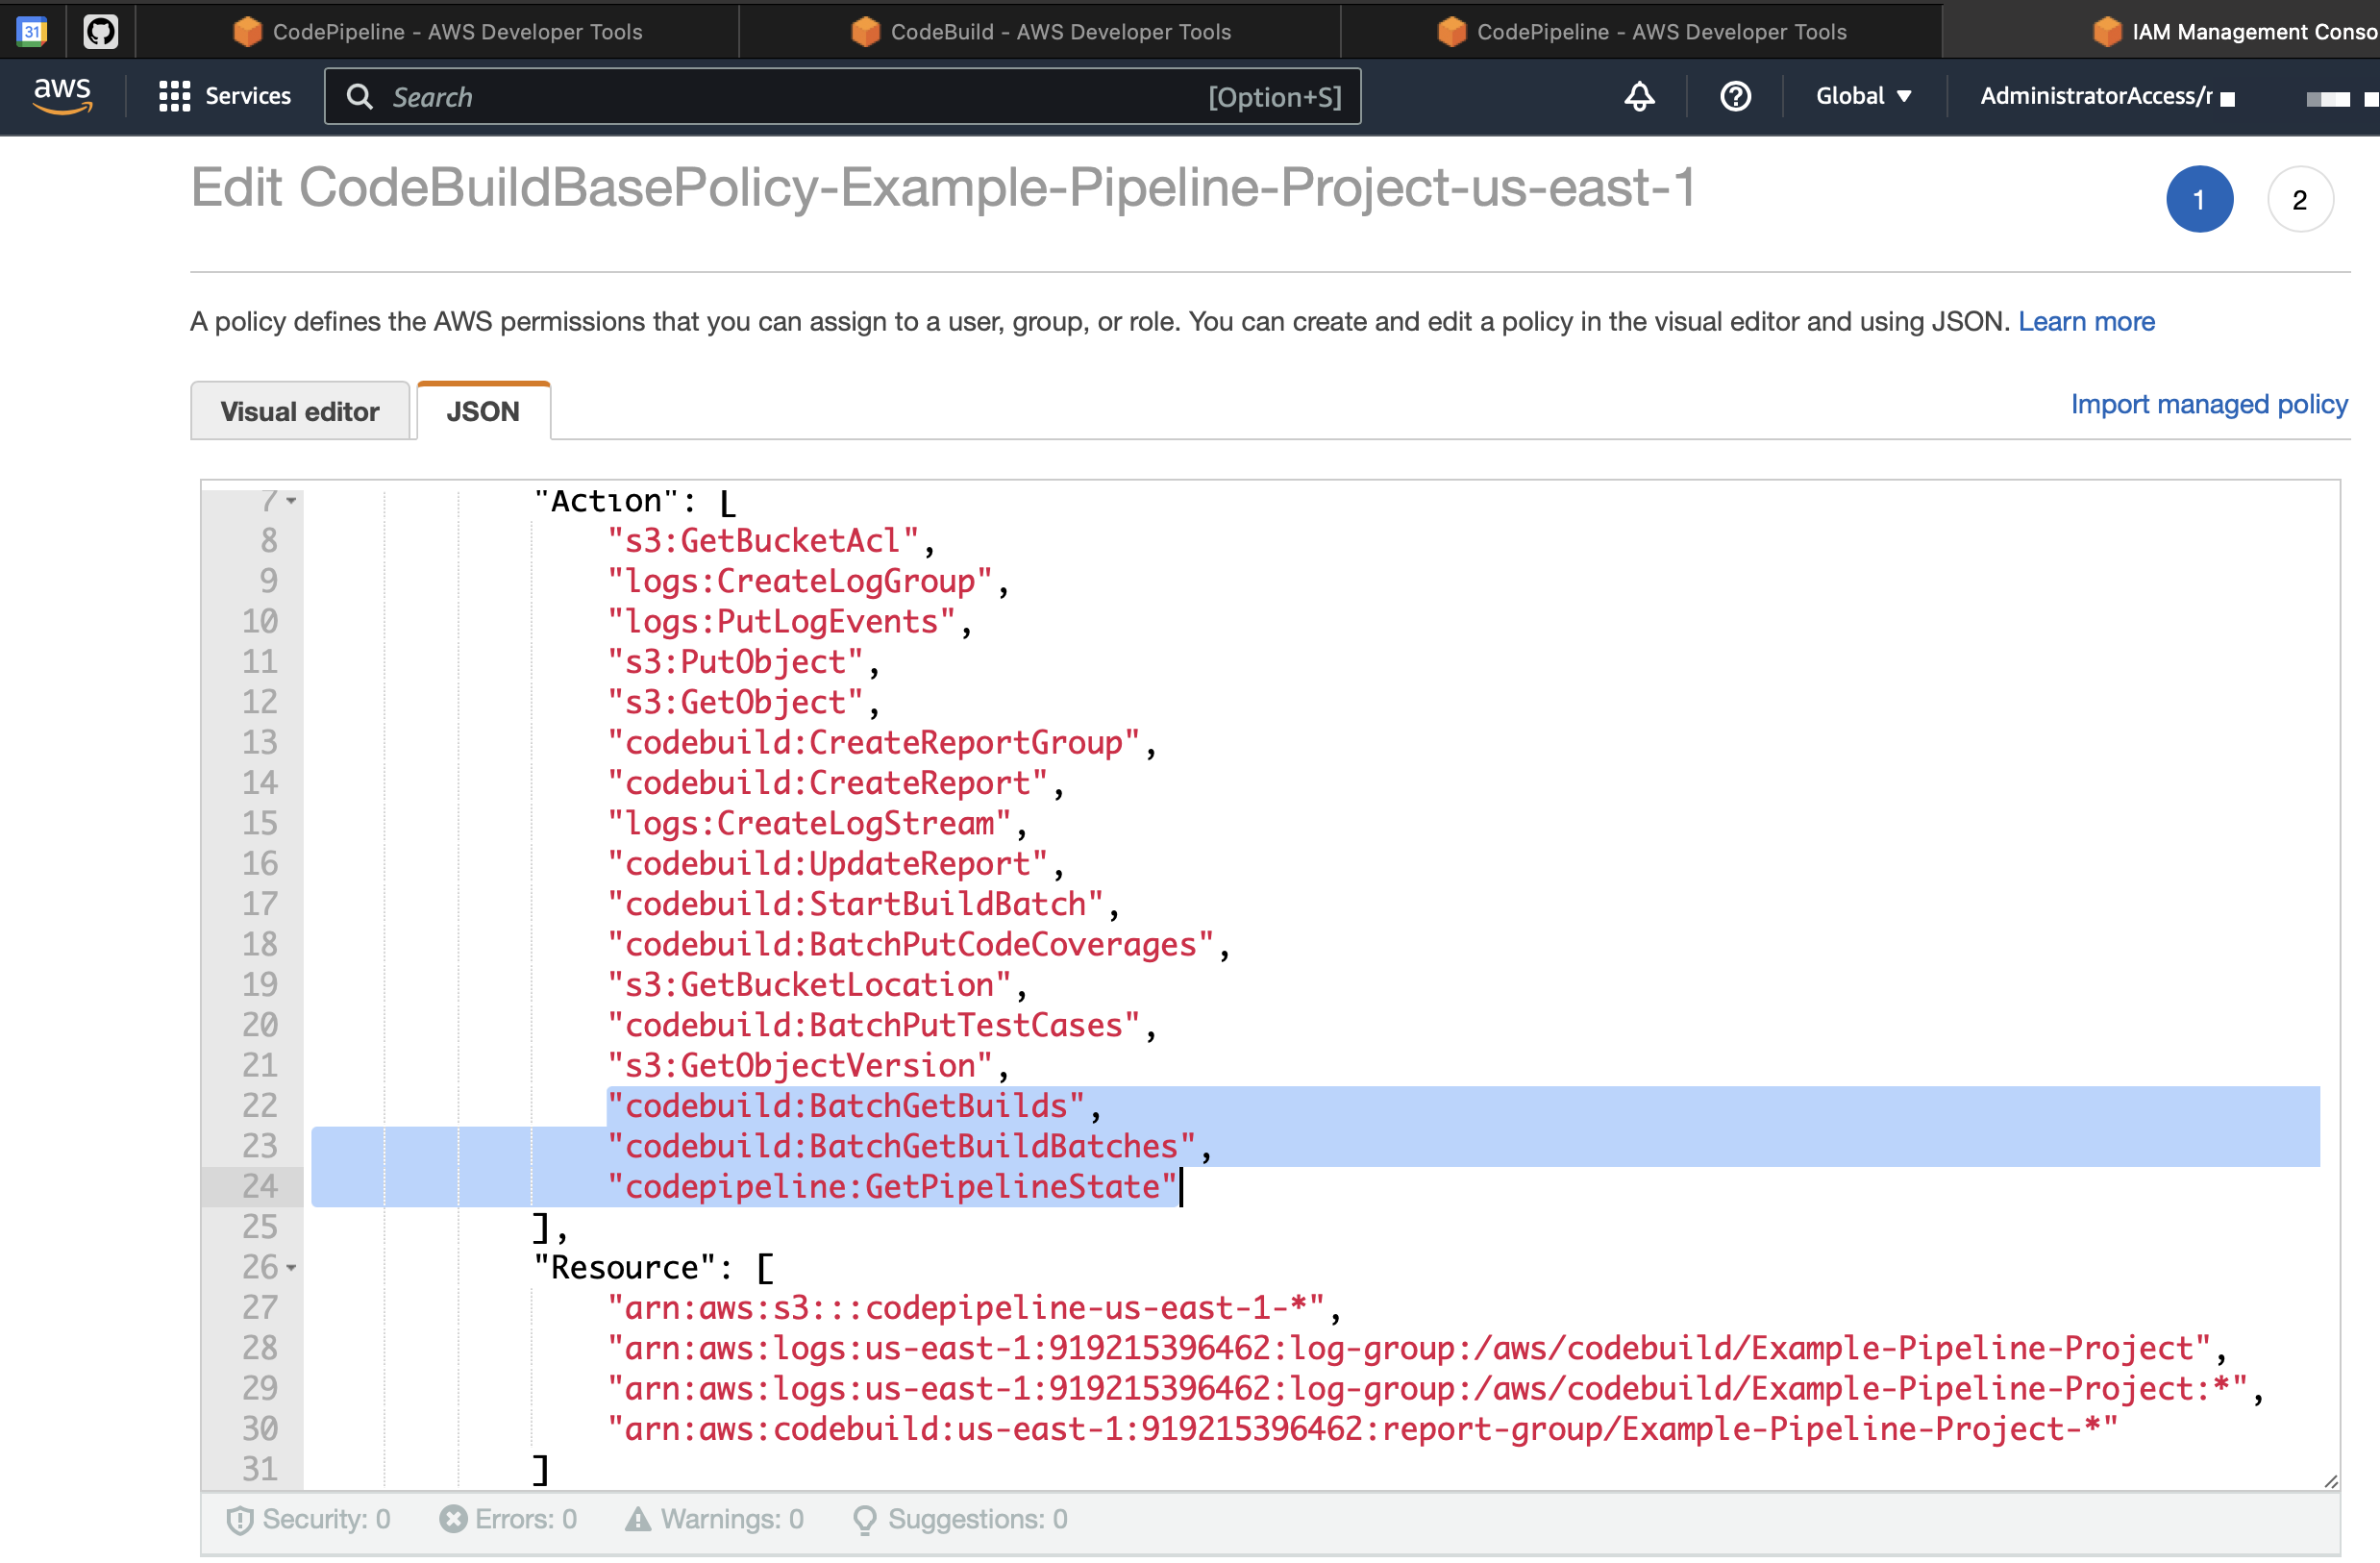
Scope those permissions to the relevant CodeBuild and CodePipeline resources.
2. Let TestOps use the AWS pipeline as a job
Complete this step after the upload path works reliably.
- In Allure TestOps, open Administration → Integrations, create the global AWS CodePipeline integration, and point it to the AWS endpoint.
- In the target TestOps project, add the AWS integration and provide the credentials your deployment uses for CodePipeline API calls.
- Run the pipeline once from AWS so TestOps can register the pipeline metadata.
- In Jobs, open the AWS-backed job, confirm the pipeline identity, and enable Job can be used to run tests.
Keep AWS-side identifiers stable once TestOps starts tracking the job. Renaming or duplicating the pipeline without updating the TestOps job will create duplicate jobs that differ only by AWS metadata.
3. Pass parameters and branch values
If the pipeline accepts inputs such as branch, browser, or deployment target:
- Define those inputs in CodePipeline or CodeBuild with stable names.
- Create the matching names in Administration → Environment.
- Map them in the TestOps project under Settings → Environment.
- Refresh the AWS-backed job in TestOps and map job parameters to the matching environment variables.
To control source branch selection, use the special Branch environment variable and map it to the AWS input that controls branch selection.
Verify the integration
- Run the pipeline from AWS and confirm TestOps creates or updates the expected launch.
- Open one result in TestOps and confirm it links back to the AWS build.
- If you enabled the bidirectional path, trigger the job from TestOps and confirm AWS starts the expected pipeline with the expected parameters.
Troubleshooting
The pipeline finishes but no launch appears in TestOps
Check:
ALLURE_ENDPOINT,ALLURE_TOKEN, andALLURE_PROJECT_IDpoint to the expected TestOps project;ALLURE_RESULTSpoints to the directory where the test framework writes Allure result files;- the build runs
./allurectl watch -- <test command>rather than the raw test command.
TestOps receives results but the AWS run is not linked correctly
Recheck the CodeBuild service-role permissions and confirm the same pipeline and build context reaches the process that executes allurectl.
The build succeeds but the upload wrapper never runs
Check that the CodeBuild project points at the intended buildspec.yml path and that the pipeline is using the latest version of that build configuration.
