Jira Data Center
Jira Data Center is the self-hosted Jira integration for Allure TestOps. It covers:
- linking test cases, launches, results, and defects to Jira issues;
- configuring issue mappings so test metadata becomes Jira links in TestOps;
- embedding TestOps panels inside Jira Data Center issues through the Jira app;
- synchronizing defect lifecycle state through Jira webhooks.
The embedded panels run in an iFrame. The TestOps instance does not need to be reachable from the Jira server, but it must be reachable from the user's browser. Browser settings that block cross-site cookies can prevent the panels from loading — see Troubleshooting if users report issues.
For manual issue lookup from TestOps, the TestOps server must be able to reach the Jira instance.
Before you begin
- The Jira Data Center URL.
- Either a Jira personal access token or a Jira username and password.
- Instance administrator access in TestOps.
- Project owner access in the target TestOps project.
- Jira administrator access if you want the embedded panels or webhook sync.
- HTTPS enabled on both TestOps and Jira if you want the embedded panels to work. A mixed HTTP/HTTPS setup is not supported for the iFrame path.
1. Enable Jira issue links in TestOps
Create the Jira credentials
You can authenticate TestOps against Jira with either a personal access token or a username and password. To use a token:
- In Jira, click your avatar and go to Profile.
- In the left sidebar, go to Personal access tokens.
- Click Create token.
- Fill in the fields:
- Token Name — a name to identify the token, for example
Token for Allure TestOps. - Expiry date — when the token expires. After this date the integration will stop working. To create a token with no expiration, clear the Automatic expiry checkbox.
- Token Name — a name to identify the token, for example
- Click Create and copy the token. Save it in a secure location.
Add the global Jira integration
An instance administrator should:
- Open Administration → Integrations in TestOps.
- Click + Add integration.
- Select Jira Server (DC).
- Fill in the fields:
- Name — a stable name for the Jira instance, for example
Jira production. - Endpoint — the URL of the Jira Data Center instance, for example
https://jira.example.com.
- Name — a stable name for the Jira instance, for example
- If Jira uses a self-signed certificate, disable certificate validation.
- Click Add integration.
Enable the integration in the project
Configure issue mapping
If your tests already emit issue labels through an Allure adapter, configure an issue mapping so TestOps can turn those labels into Jira links automatically.
- Open the TestOps project.
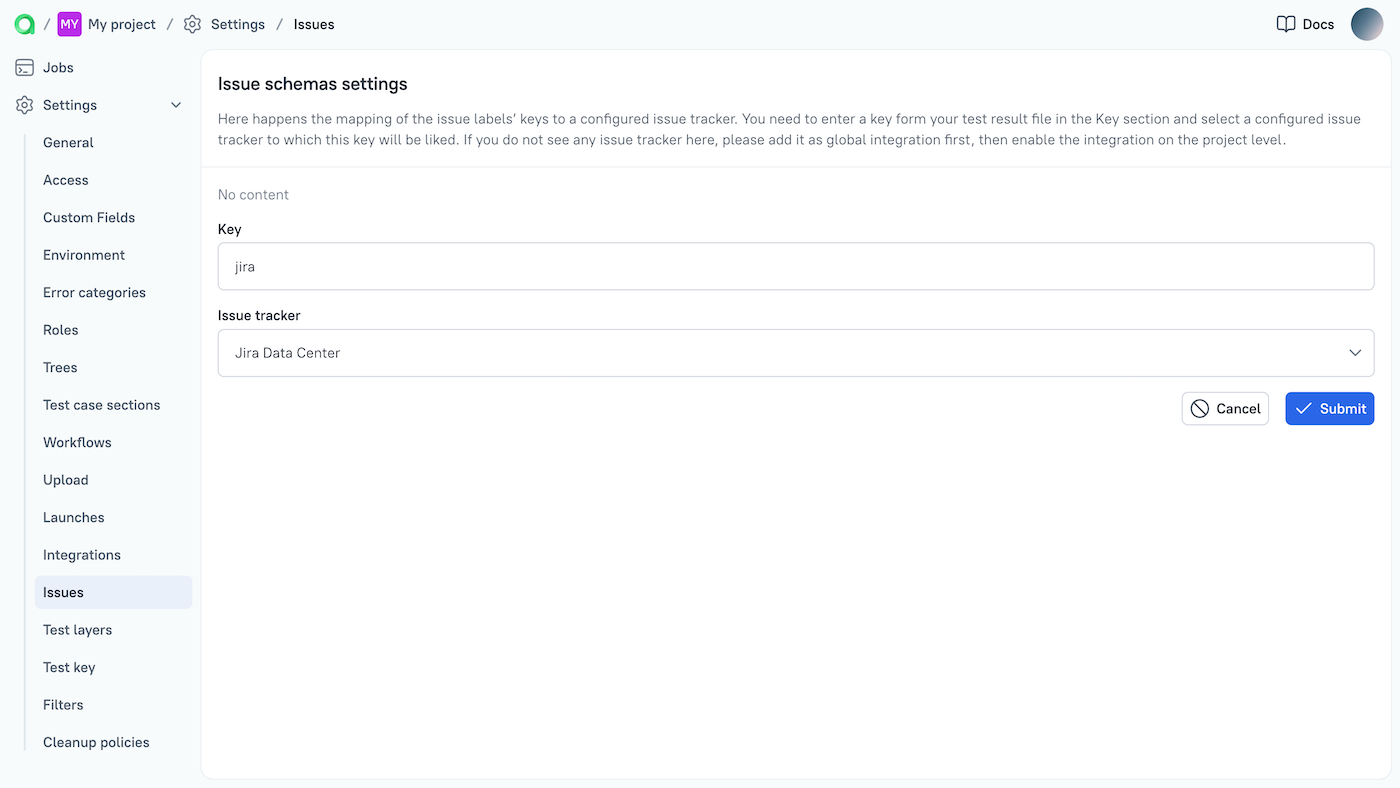
- Go to Settings → Issues.
- Click + Create.
- Fill in the fields:
- Key — the short identifier your tests use in metadata, for example
jira. - Issue tracker — the Jira Data Center integration enabled for the project.
- Key — the short identifier your tests use in metadata, for example
- Save the issue mapping.
To emit issue labels from your tests, use the Allure adapter for your framework. Example in TypeScript:
allure.label("jira", "BUG-123");Here
jirais the mapping key andBUG-123is the Jira issue ID. In a real project, wrap the label call in a helper function so the key is defined in one place.
2. Embed TestOps panels in Jira Data Center issues
The embedded panels show linked TestOps test cases and launches directly inside Jira issues. This requires secure cookies, the Jira app, and the TestOps integration ID.
Enable secure cookies in TestOps
Find the integration ID in TestOps

Install and configure the Jira app
In Jira, click the Settings icon and select Manage apps.
Find Allure TestOps for JIRA and click Install.
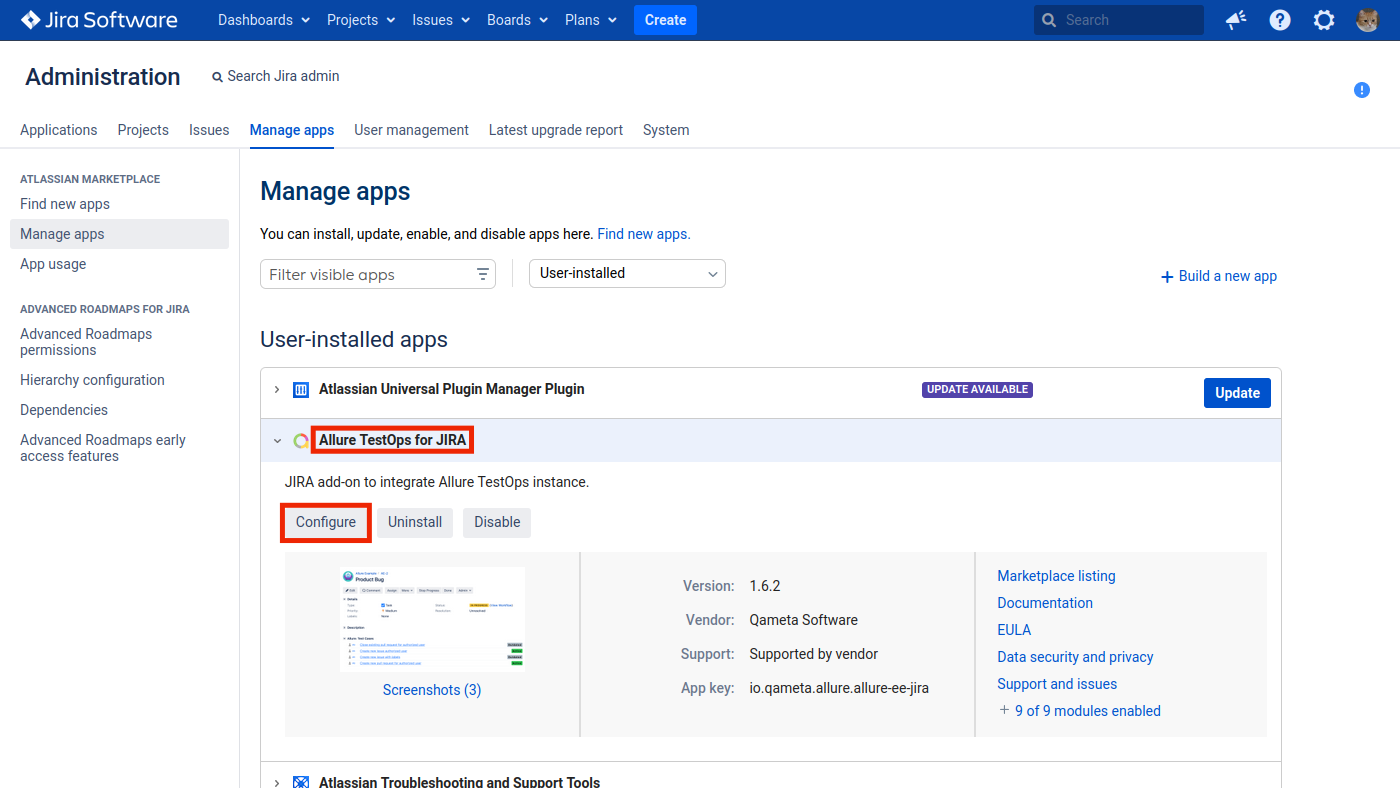
After installation, go to Manage apps in the left sidebar.
Expand the Allure TestOps for JIRA section and click Configure.
Fill in the fields:
- Config — select Create new config if this is the first TestOps instance you connect from Jira; otherwise select the existing instance URL to update its settings.
- Endpoint — the TestOps URL without a trailing slash.
- Version — the option that matches your current TestOps release line.
- Integration ID — the Jira Data Center integration ID from the step above.
- Selected groups / Groups — Jira groups that should see the plugin panels. Leave unchecked to enable for all groups.
- Selected projects / Projects — Jira projects where panels should appear. Leave unchecked for all projects.
- Selected issue types / Issue types — issue types where panels should appear. Leave unchecked for all types.
Click Save.
Verify the integration
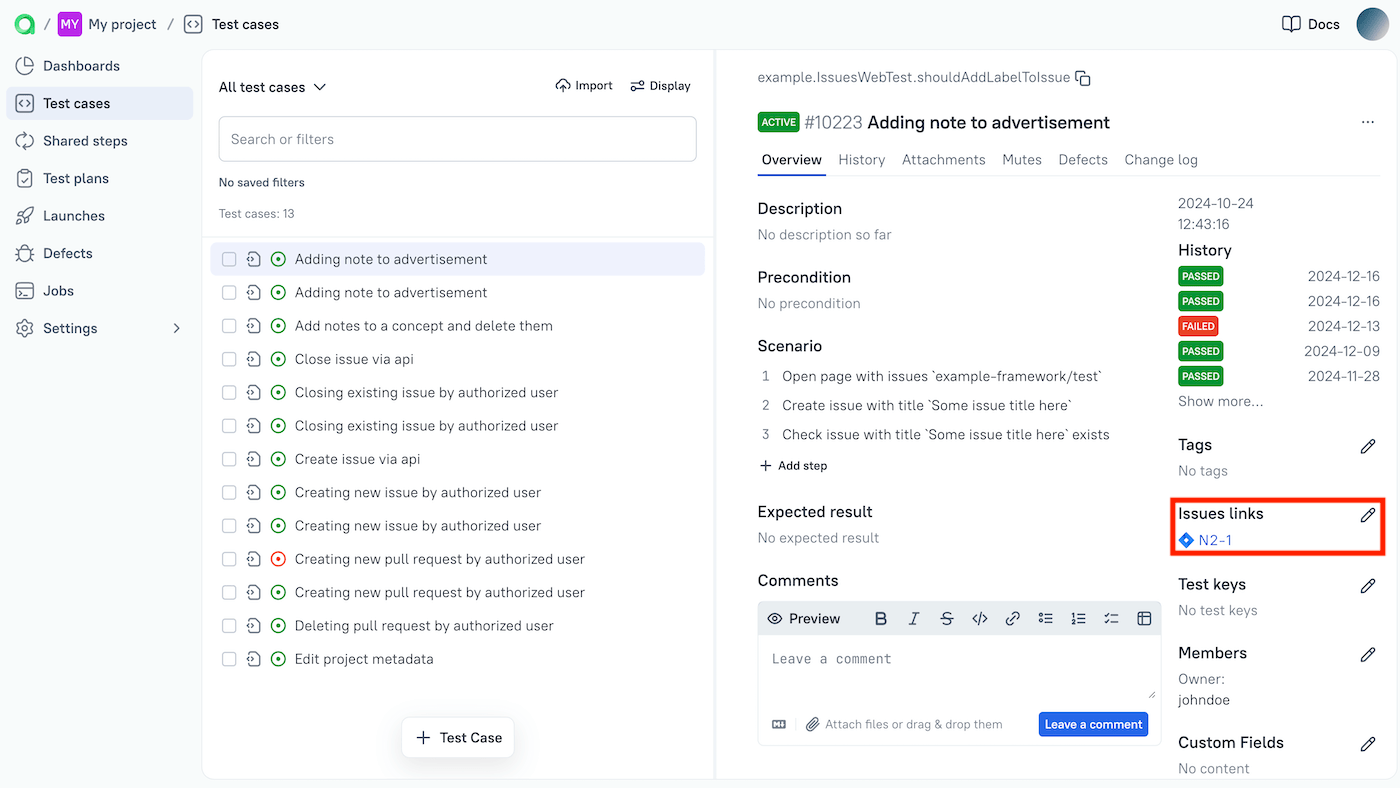
In TestOps, add a Jira issue link to a test case or launch.
Confirm that the Jira issue picker can search the expected project.
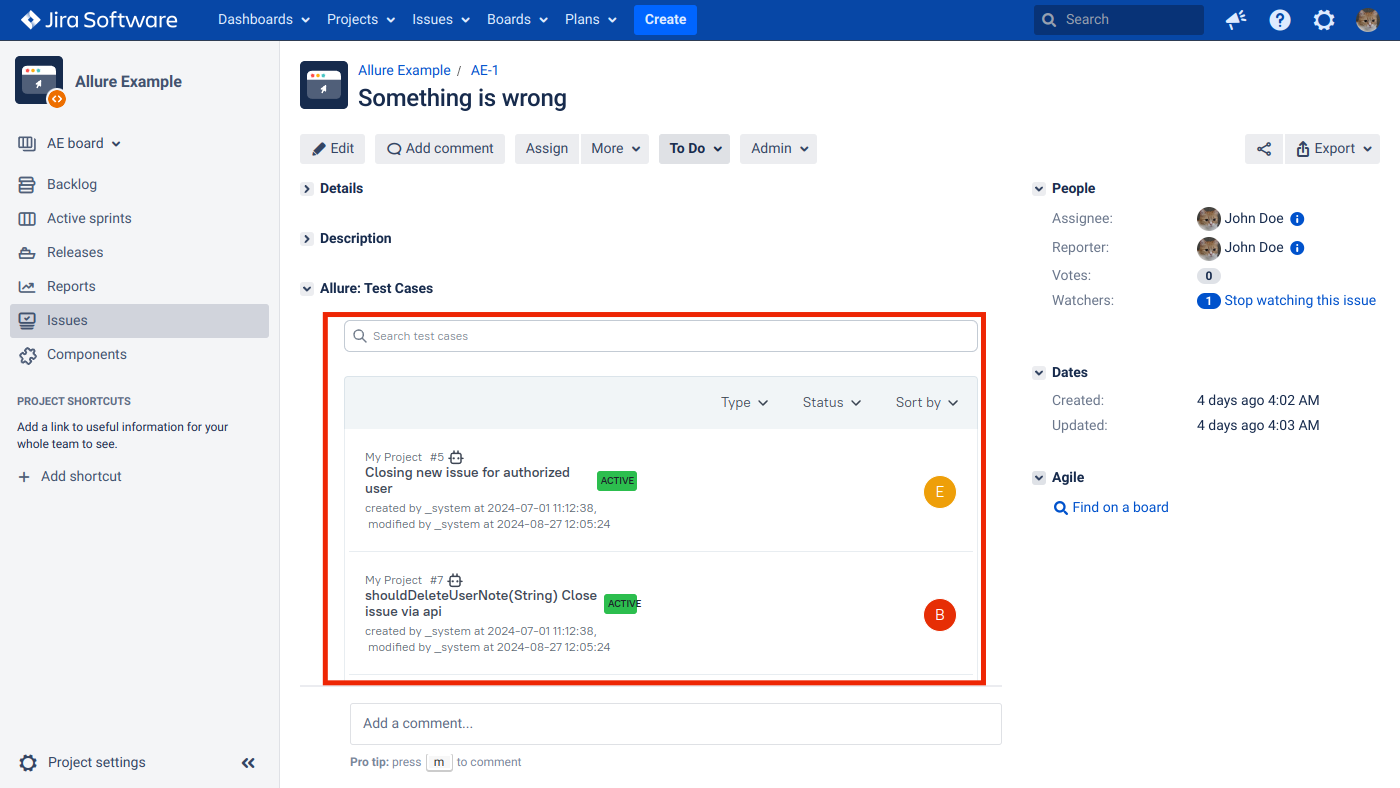
Open the linked Jira issue and confirm that the TestOps panels appear.
3. Enable synchronization of the issue lifecycles
When this path is enabled, Jira issue status changes can open or close the linked defect in TestOps.
Create the webhook in TestOps
- Open Administration → Integrations in TestOps.
- Open the Jira Data Center integration.
- Go to the Webhooks tab.
- Click + Create webhook and confirm the creation.
- Copy the generated webhook URL.
Add the webhook in Jira
- In Jira, click the Settings icon and select System.
- In the left sidebar, under Advanced, click WebHooks.
- Click Create a WebHook.
- Fill in the fields:
- Name — a name to identify the webhook.
- Status — Enabled.
- URL — the webhook URL copied from TestOps.
- Issue related events — select Issue → updated.
- Click Create.
Troubleshooting
The iFrame shows a sign-in button
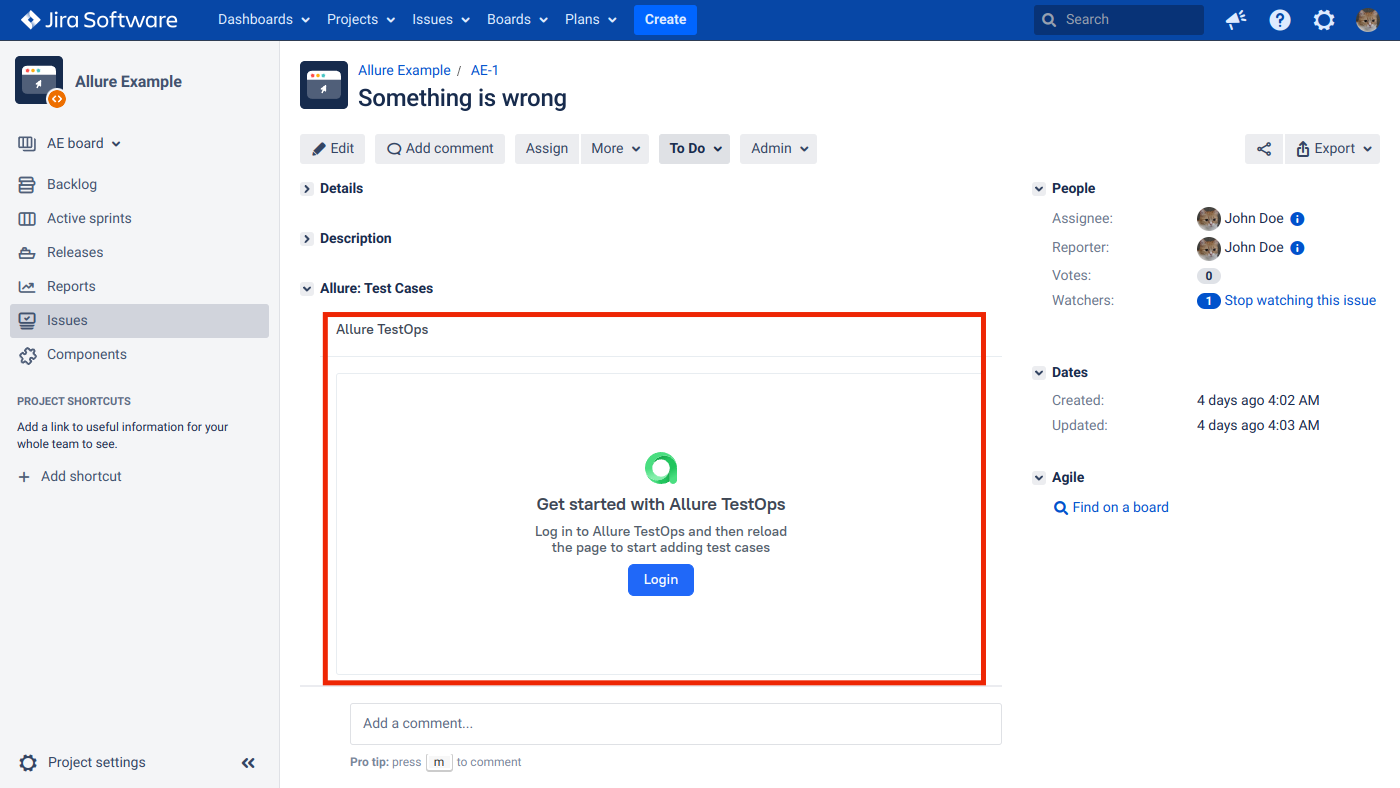
If you are signed in to TestOps but still see a Sign in button in the Jira issue view, the browser is blocking the cross-site cookies required for the embedded panel.
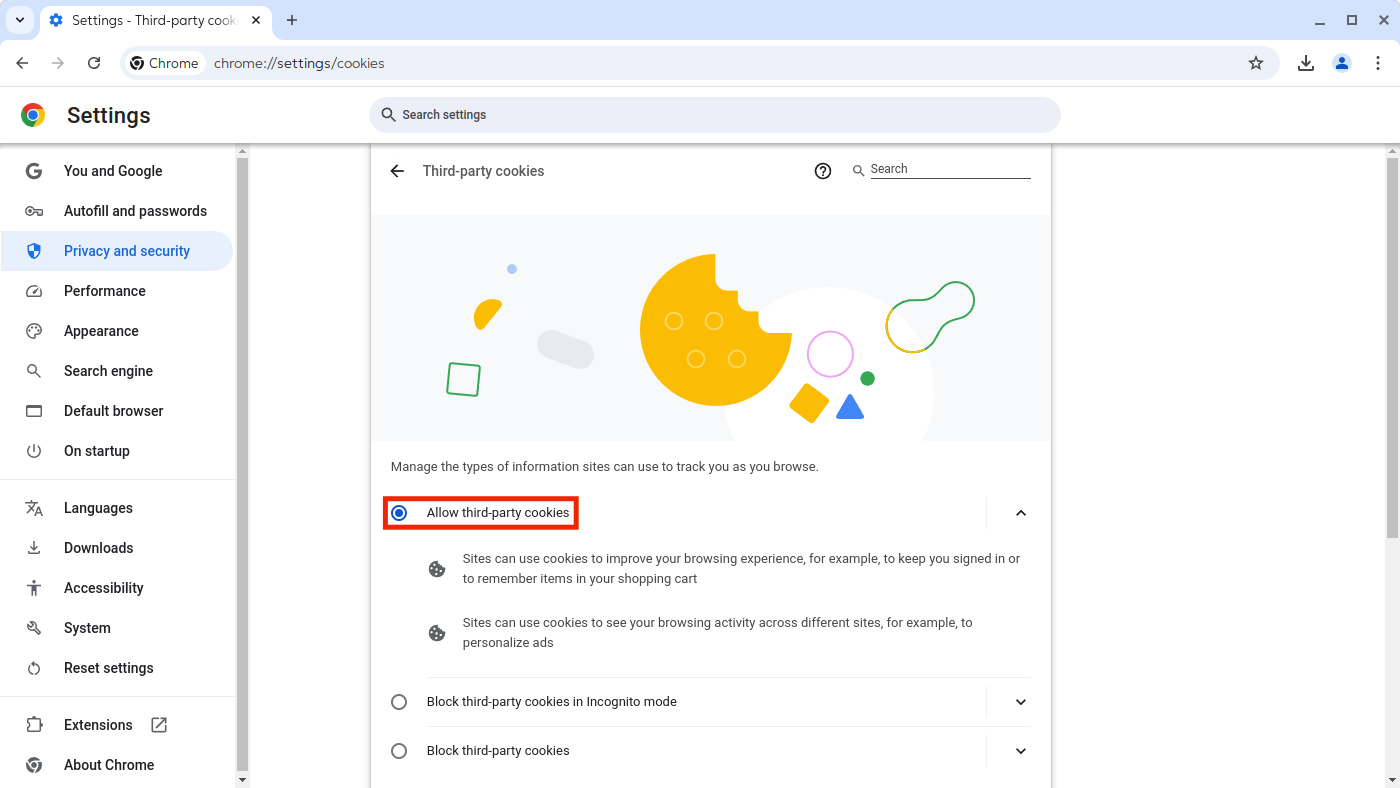
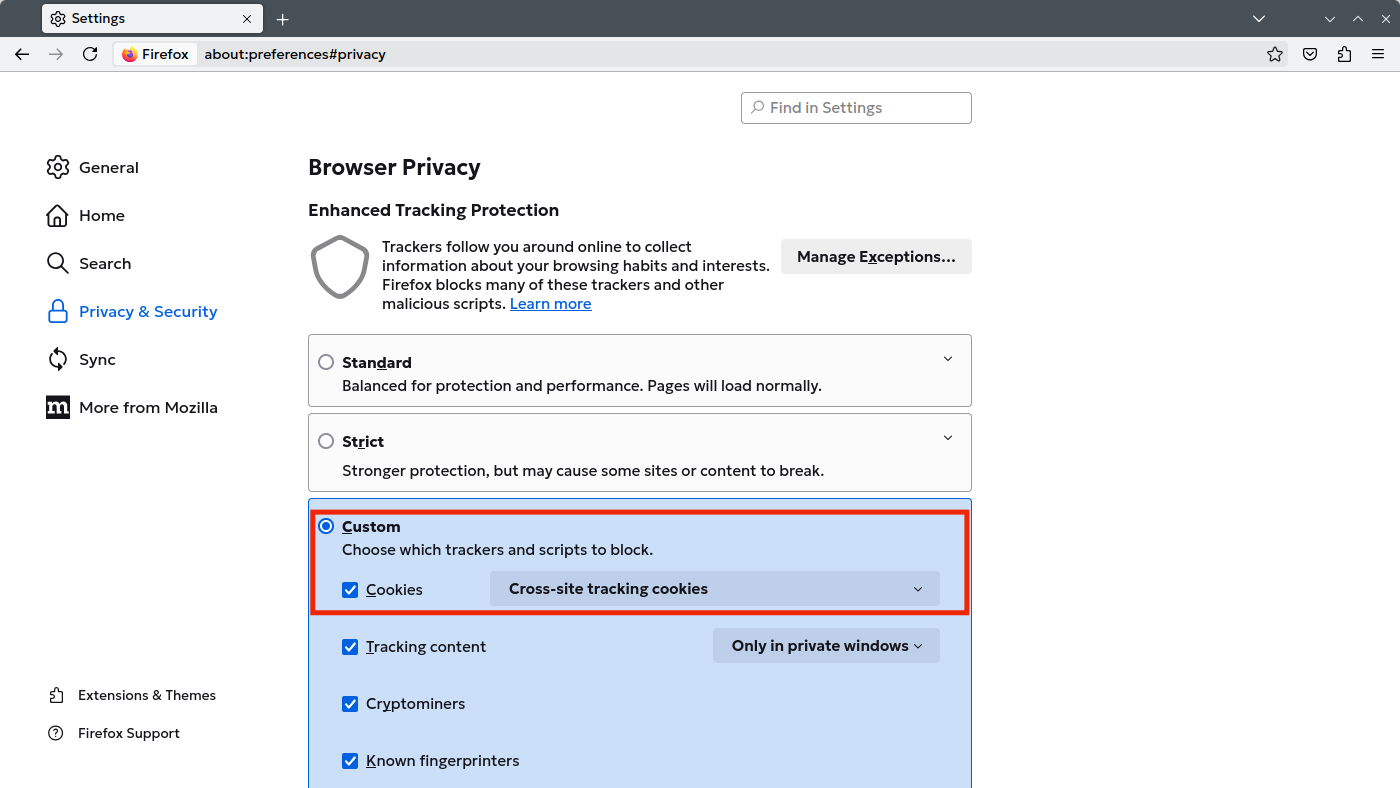
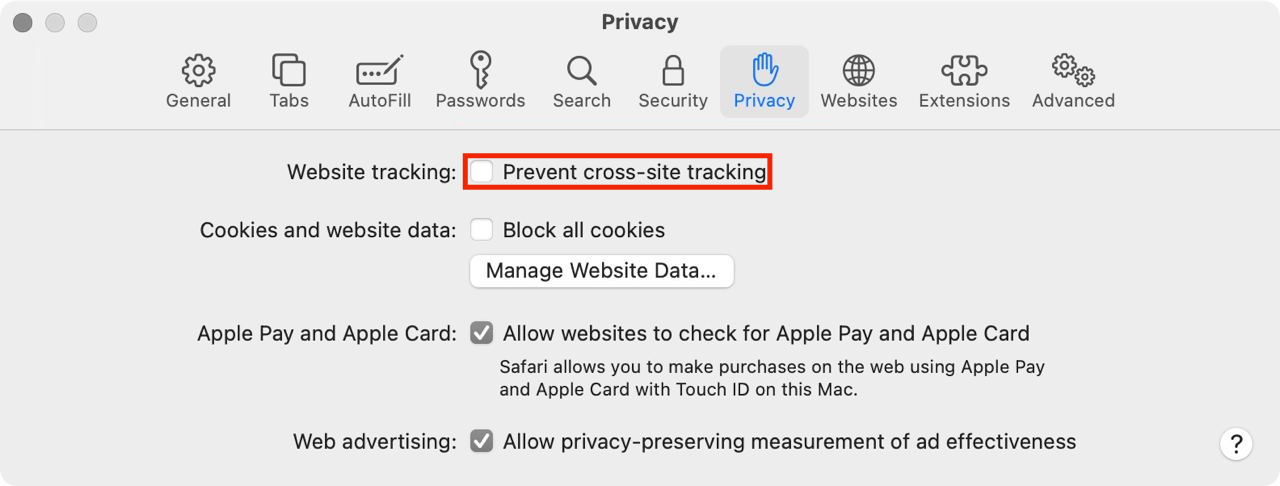
Each user who encounters this issue needs to apply the fix in their own browser.
The iFrame shows no content
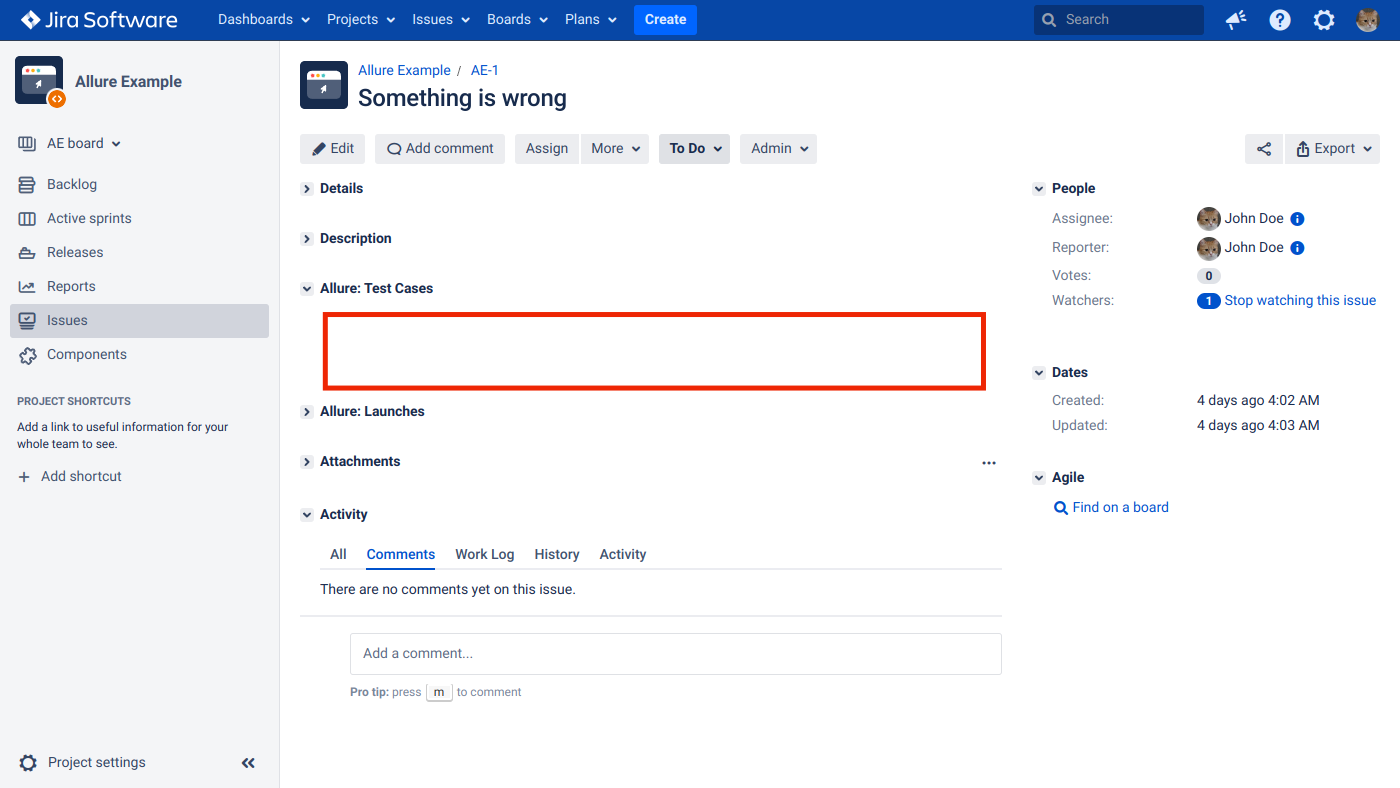
An empty iFrame panel usually means Jira is running on HTTPS and TestOps is running on HTTP. This configuration is not supported. Enable HTTPS for TestOps and update the Endpoint field in the Jira plugin configuration from http to https.
The iFrame shows "Couldn't connect to Allure TestOps"
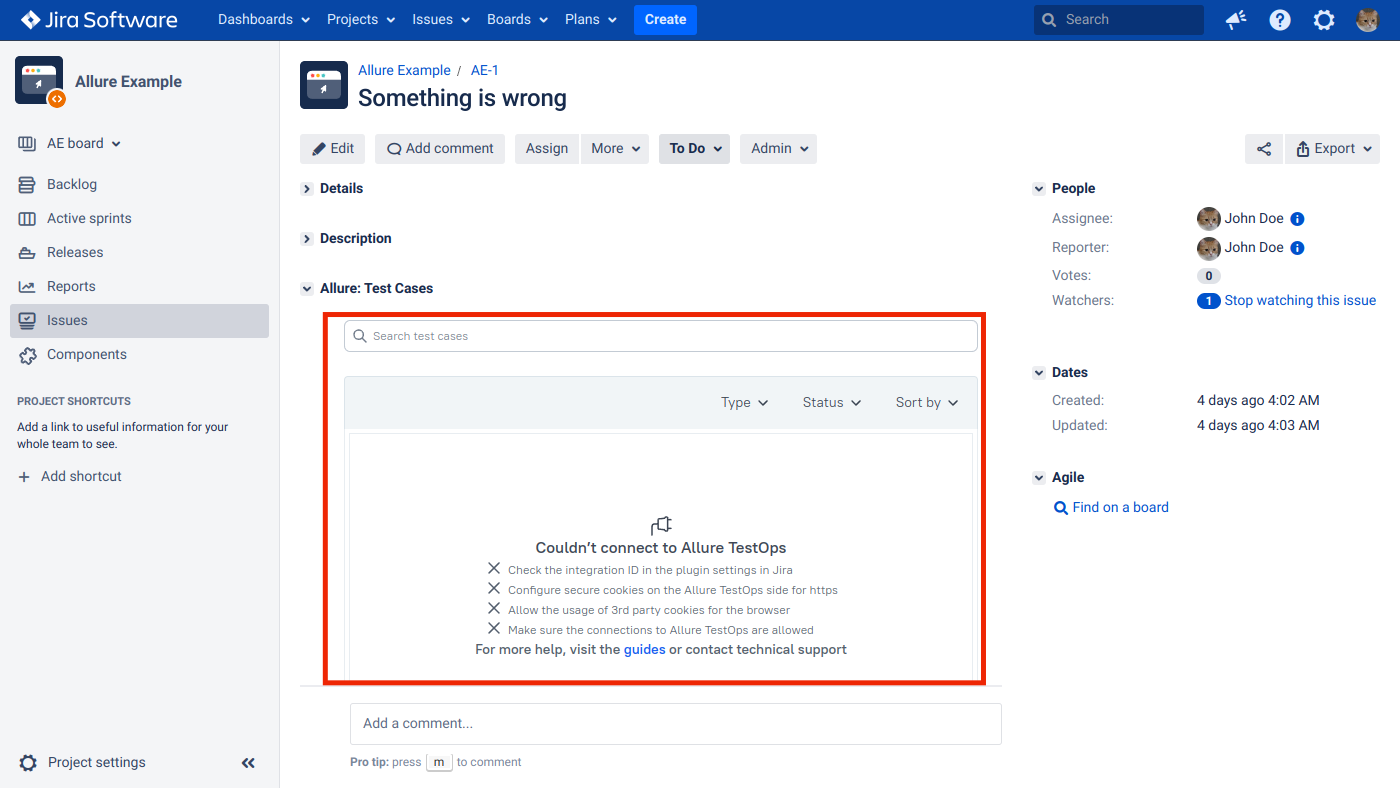
The integration ID in the Jira plugin configuration is incorrect. Find the correct integration ID in TestOps and update the value in the plugin settings.
Related pages
- Jira Software Cloud for the Atlassian-cloud integration path.
- Defects for issue-linked defect workflows.
- Links, issues, and relations for how issue links appear in TestOps.
