Integration with YouTrack
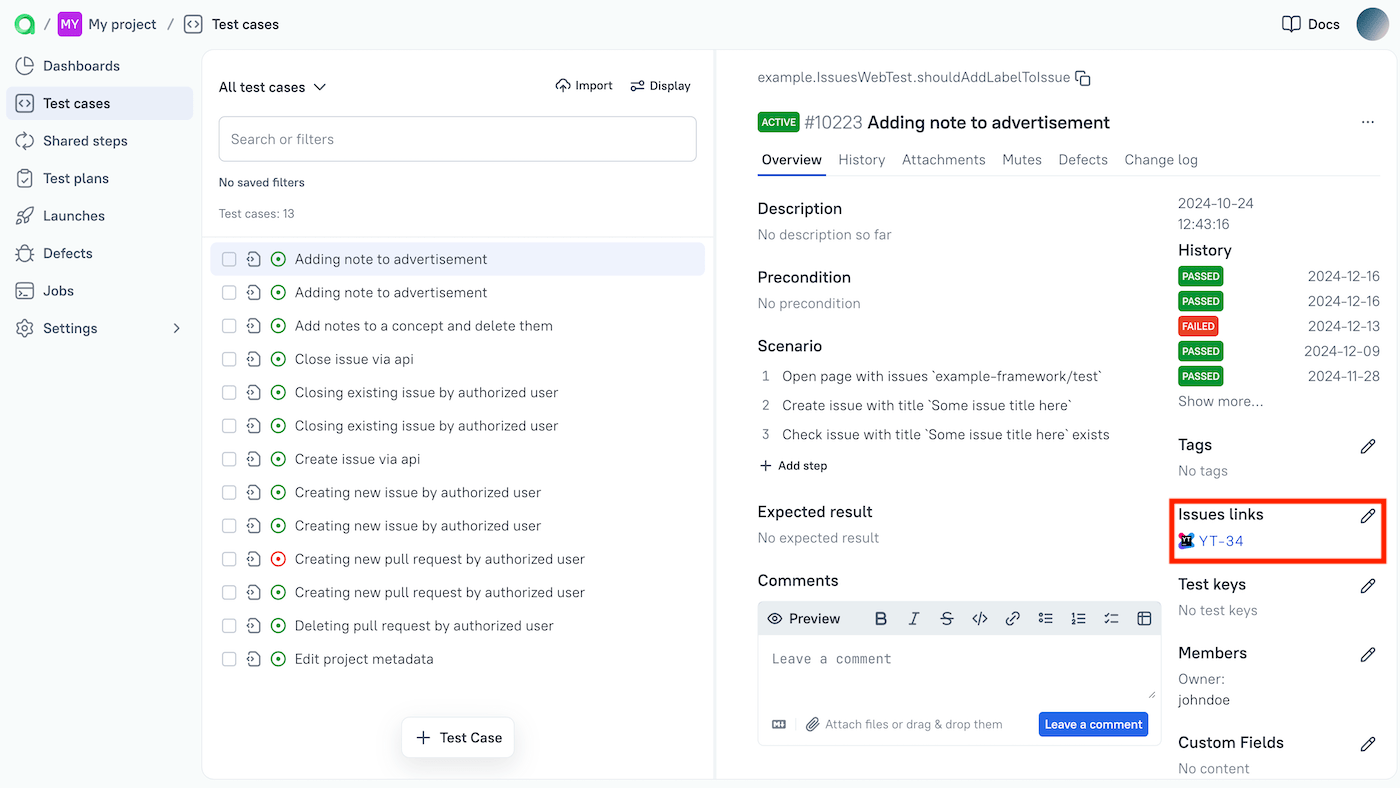
This page describes how to set up Allure TestOps integration with the YouTrack issue tracker. With this integration, Allure TestOps launches, test results or defects can have clickable links to related YouTrack issues.
Both cloud and self-hosted editions of YouTrack are supported. Note that for adding an issue to a test case manually, YouTrack must be accessible from the Allure TestOps server.

To use automatic linking between test cases and issues, a test author needs to define a relation using an Allure Report adapter for their test framework. Example of specifying the relation:
import { test } from "@playwright/test";
import { allure } from "allure-playwright";

test("Some test", async ({ page }) => {
  allure.label("youtrack-prod", "BUG-123");
  // ...
});
This code defines a relation between the test and the “BUG-123” issue in the “youtrack-prod” issue tracker. To make this an actual link in the web interface, Allure TestOps will use an issue mapping for “youtrack-prod”, as described in step 4.
Note that while the example above works, in a real project we recommend to create your own wrapper function instead of specifying the key in
allure.label()every time. Please consult the Allure Report documentation for your test framework.
First, the administrator needs to specify the YouTrack instance URL.
Then, the project owner needs to create an authentication token in YouTrack, add it to Allure TestOps, and configure issue mapping.
1. Specify YouTrack URL in Allure TestOps
Log into Allure TestOps using an administrator account.
Go to Administration → Integrations.
Click + Add integration in the top right corner of the page.
In the window that appears, select YouTrack.
Fill in the fields:
- Name — a name to help you recognize the integration, for example, YouTrack production.
- Endpoint — the URL of the YouTrack instance, for example, https://example.youtrack.cloud/.
If your YouTrack instance uses a self-signed SSL certificate, check the Disable certificate validation checkbox.
Click Add integration.
2. Create a token in YouTrack
Skip this if you prefer to use your username and password as the credentials on the next step.
In YouTrack, click your avatar and go to Profile.
Go to the Account Security tab.
Under the Tokens section, click New token.
Fill in the fields:
- Token Name — a name to help you recognize the token, for example, Token for Allure TestOps.
- Scope — YouTrack.
Click Create, then click Copy token.
The new token will be copied into your clipboard.
You will need this token on the next step.
3. Add the YouTrack credentials to Allure TestOps
In Allure TestOps, open your project.
Go to Settings → Integrations.
Under the Available integrations, find the YouTrack integration and click Add integration next to it.
In the dialog that appears, fill in the fields:
- Username — the username that you use to log into YouTrack.
- Password — the password that you use to log into YouTrack or the token that you got on step 2.
Click Test connection. If the credentials are correct, a "Connection established" message will appear within a few seconds.
Click Add integration to save the settings.
4. Configure issue mapping
In Allure TestOps, open your project.
Go to Settings → Issues.
Click + Create.
Fill in the fields:
- Key — a short integration identifier that you are going to use when writing the tests, for example, youtrack.
- Issue tracker — the name of the integration that you added on step 1.
Click Submit.