Integration with Yandex Tracker
Integration capabilities
The following options are available for integration with Yandex Tracker:
Connection check.
- Allure TestOps can check the validity of the provided credentials.
- Permissions cannot be validated.
Issue synchronization.
Retrieving a list of issues.
- Allure TestOps can retrieve and filter the list of issues from Yandex Tracker based on the user-provided data.
Issue creation.
- Issues can be created from defects.
Launch export.
- If a launch is linked to an issue, a link to the launch will be added as a comment in the specified issue.
There are 2 steps you need to perform to integrate with Yandex Tracker:
- Create OAuth2 token on Yandex Cloud side.
- Add integration on Allure TestOps side.
Create OAuth2 token on Yandex side
To be able to use Yandex Tracker, you need to be properly authenticated on Yandex side.
The creation of the authentication parameters is described in the official documentation of Yandex Cloud
https://cloud.yandex.com/en/docs/tracker/concepts/access
First, you need to authenticate at https://yandex.com/dev/:
Open
https://oauth.yandex.com/client/new.Add service name (for example, AllureIntegration).
Select Which platform is the app required for? and click Insert URL for development.
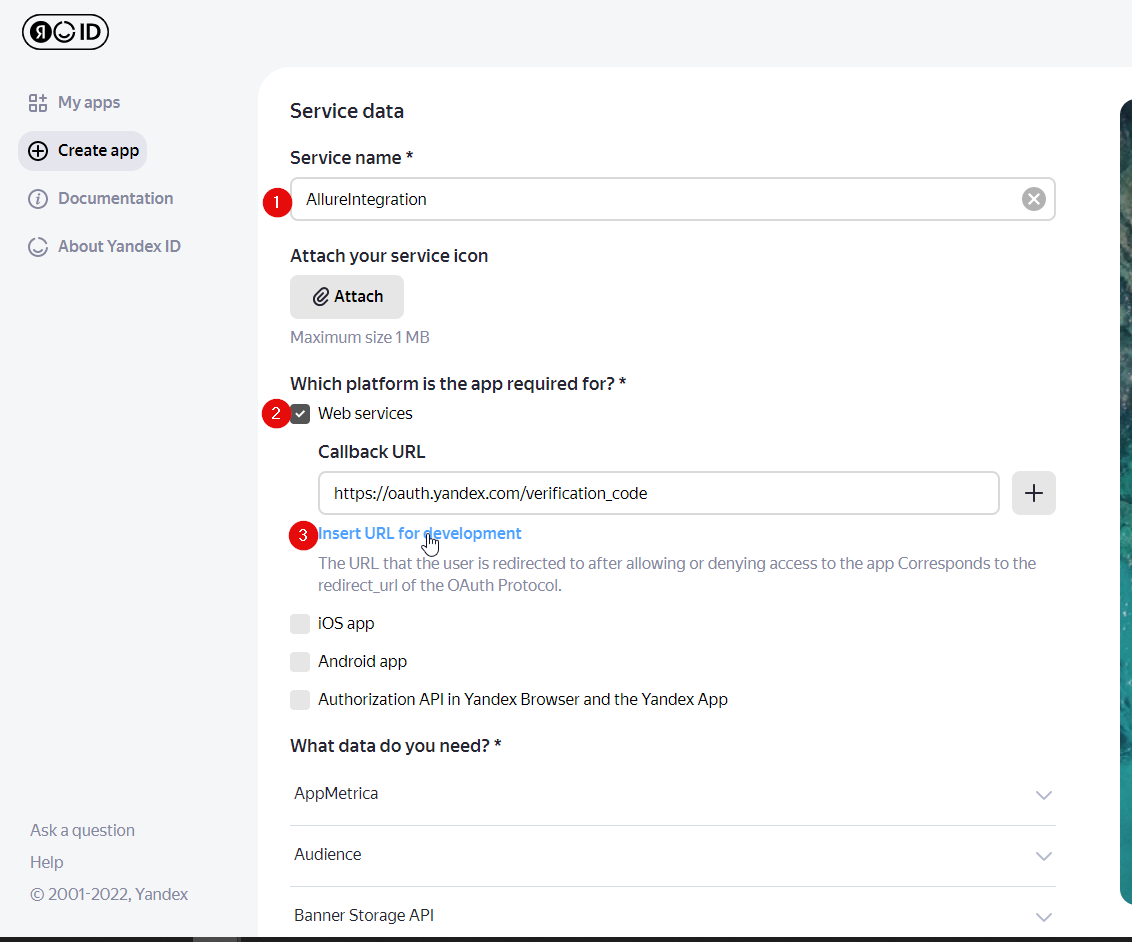
Under Data access in the Permission name field:
- enter the keyword tracker and select the permissions:
- Read from tracker;
- Write in tracker.
- enter the keyword cloud and select the permission Cloud authentication.
- enter the keyword tracker and select the permissions:
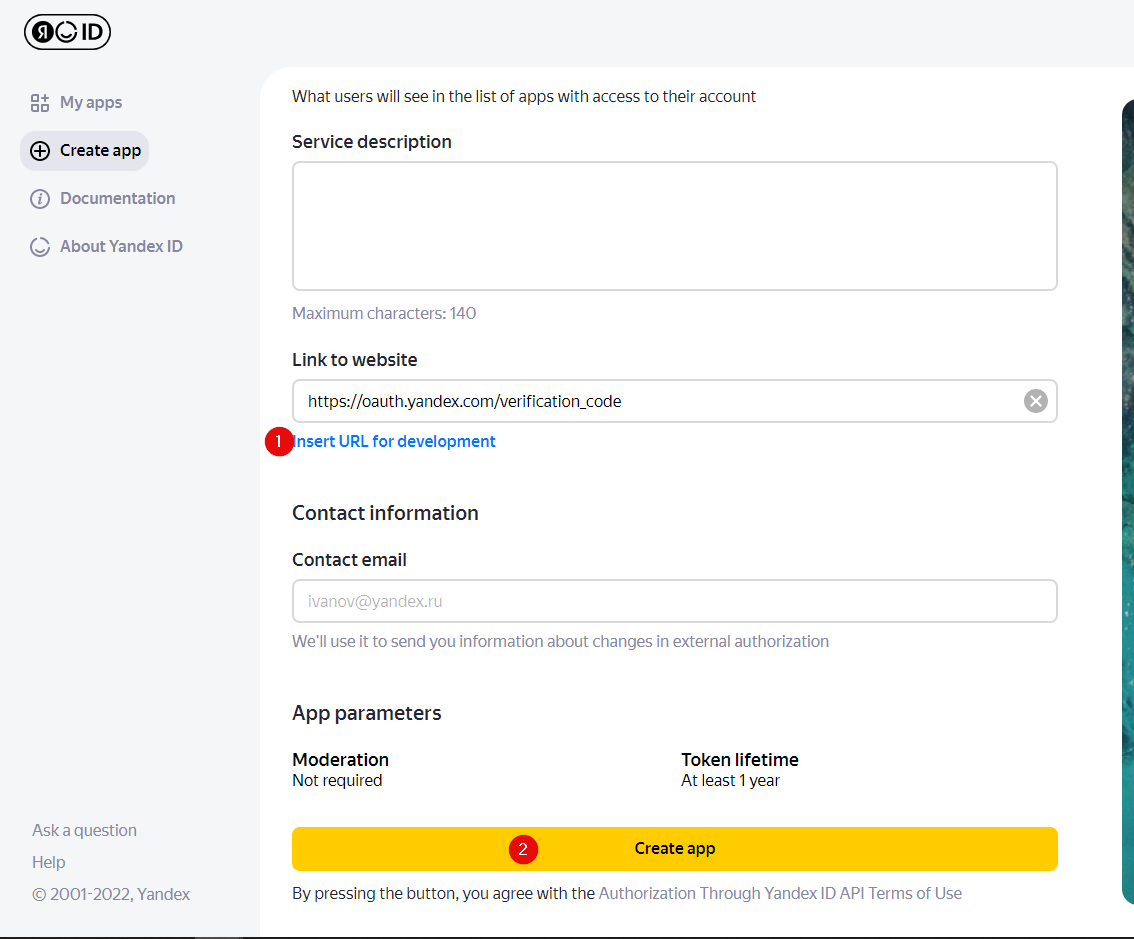
For the item Link to website, select Insert URL for development and click Create app.
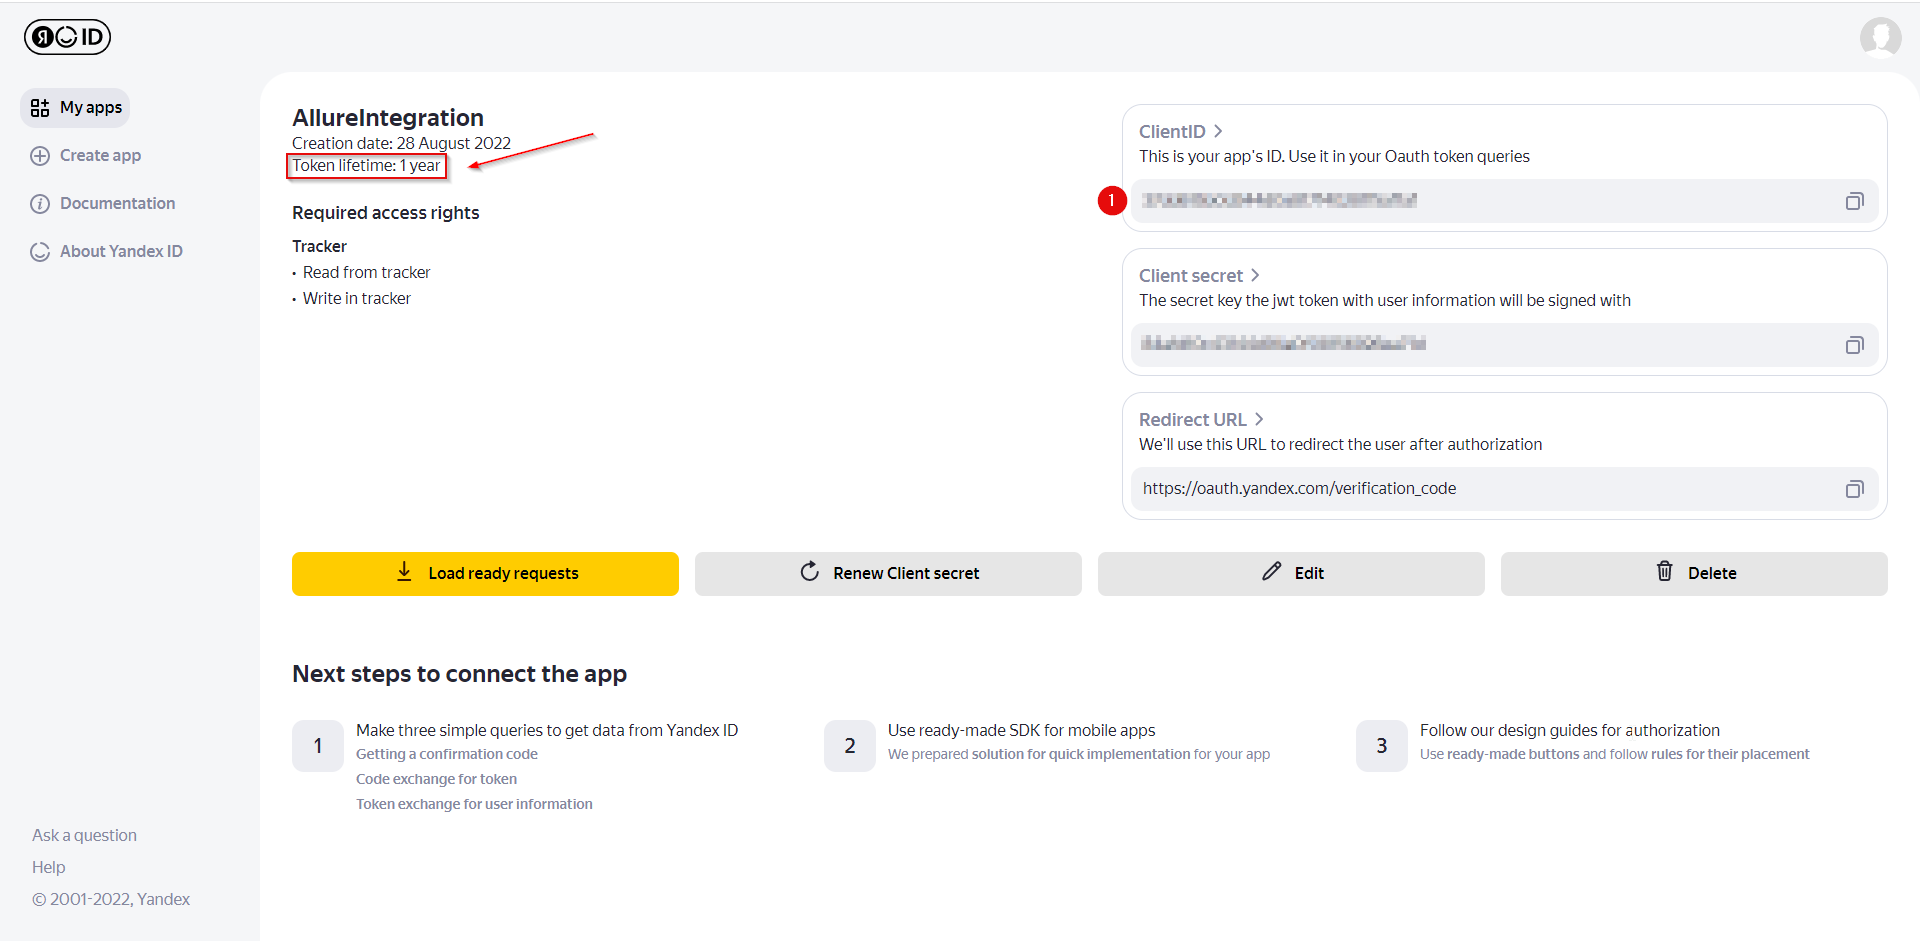
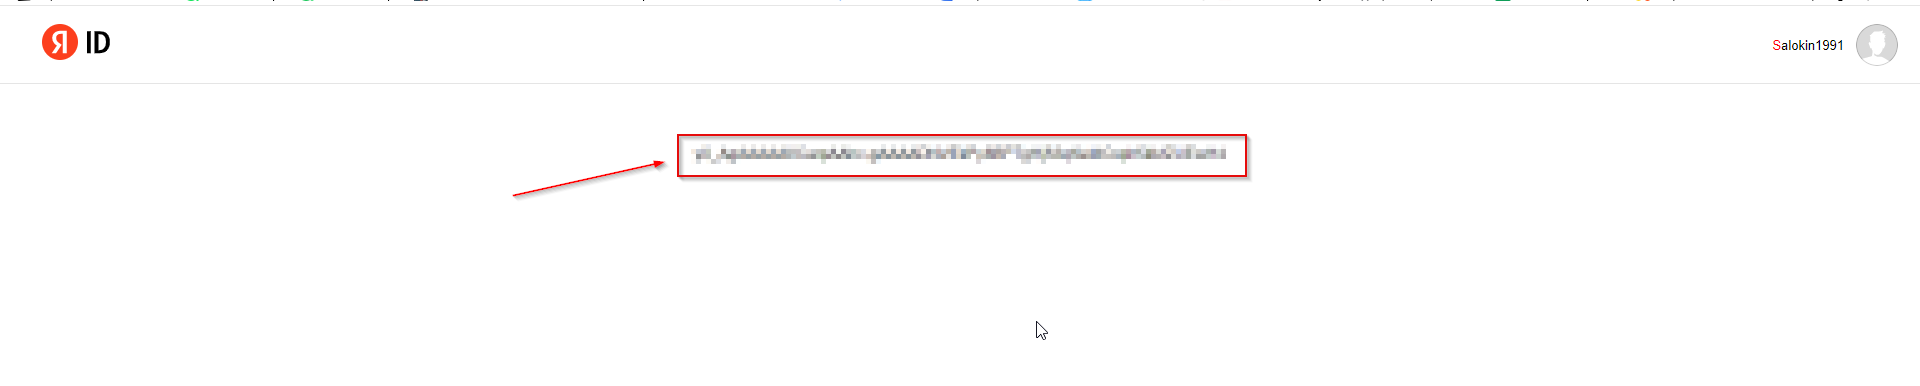
You'll be redirected to the created application page, where you need to copy the ClientID (note that the token's lifetime is one year).
Follow the link
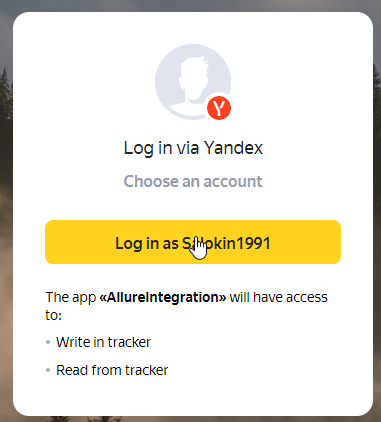
https://oaut.yandex.com/authorize?response_type=token&client_id=application_ID, whereapplication_ID- your current CLientID from the previous step.Confirm authorization, if required.
Now, your OAuth2 token is created and enabled.
Add integration on Allure TestOps side
The general description of enabling of an integration is described in the Integration section.
Integration recap
- Create credentials in the external system for API usage.
- Add the required integration at the global level in Allure TestOps (you need administrator permissions).
- Add the required integration at the project level and specify the credentials obtained in the step 1.
Global level
You need administrator permissions to configure the Allure TestOps instance at the global level.
Go to Administration → Integrations.
In the upper-right corner click + Add integration.
Search for Yandex Tracker.
Click the Yandex Tracker logo.
Provide the name of the integration.
Provide the URL of Yandex Tracker (most likely that'll be
https://tracker.yandex.com).Allure TestOps will use the default API endpoint (
https://api.tracker.yandex.net) if the Endpoint field is left empty. See documentation.In most cases, you don’t need to specify this parameter.
Click Add integration.
Add Yandex Tracker to your project
You need to be a project owner to configure these settings.
- In Allure TestOps, open your project.
- Go to Settings → Integration.
- Locate the Yandex Tracker integration you want to add.
- Click Add integration.
- In the modal window enter the credentials:
– the organisation ID (can be found by following the link
https://tracker.yandex.com/settings);- OAuth2 token (described in the very beginning of this very article).
- Click Test connection. If the credentials are correct, a "Connection established" message will appear within a few seconds.
- Click Add integration to save the settings.
After these steps you can use Yandex Tracker.
Troubleshooting
Test connection fails ("Insufficient scope for this Yandex.passport account")
If the test connection fails with the error "Insufficient scope for this Yandex.passport account. Yandex.passport account lacks", go to the created application on the Yandex side:
- Make sure that the Cloud authentication permission is selected under Data access.
- Create a new OAuth2 token.
