Creating a project and adding collaborators
The first thing you need to do before you can start working with test cases in Allure TestOps is to create a project.
A project is like a folder that holds all your test cases and related data (such as test results, integrations with CI systems, test plans and suites, etc.).
Creating a project
Any member of the Allure TestOps instance with the "Admin" or "User" global role can create their projects.
To create a project:
Open the Allure TestOps home page.
Click + Project.
In the dialog that appears, enter the Name of your project.
Optionally, enter a Description for the project and specify a two-letter Abbreviation, which will be displayed on the project icon.
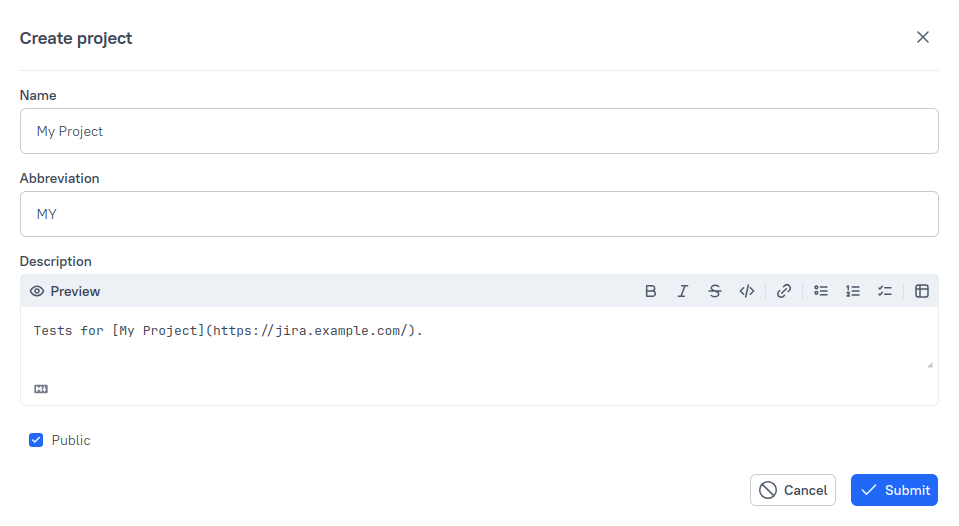
If you want to make the project visible to all users of your instance, turn off the Private project toggle.
For more information, see Project visibility.
Click Create.
Adding collaborators
When you create a project, you become its owner, so that you can manage all the settings of the project. As such, you can grant access to other team members, including other owners.
If a user is not yet registered in Allure TestOps, ask your instance's administrator to create an account for them.
Go to Project settings → Access.
In the top right, click Add collaborator.
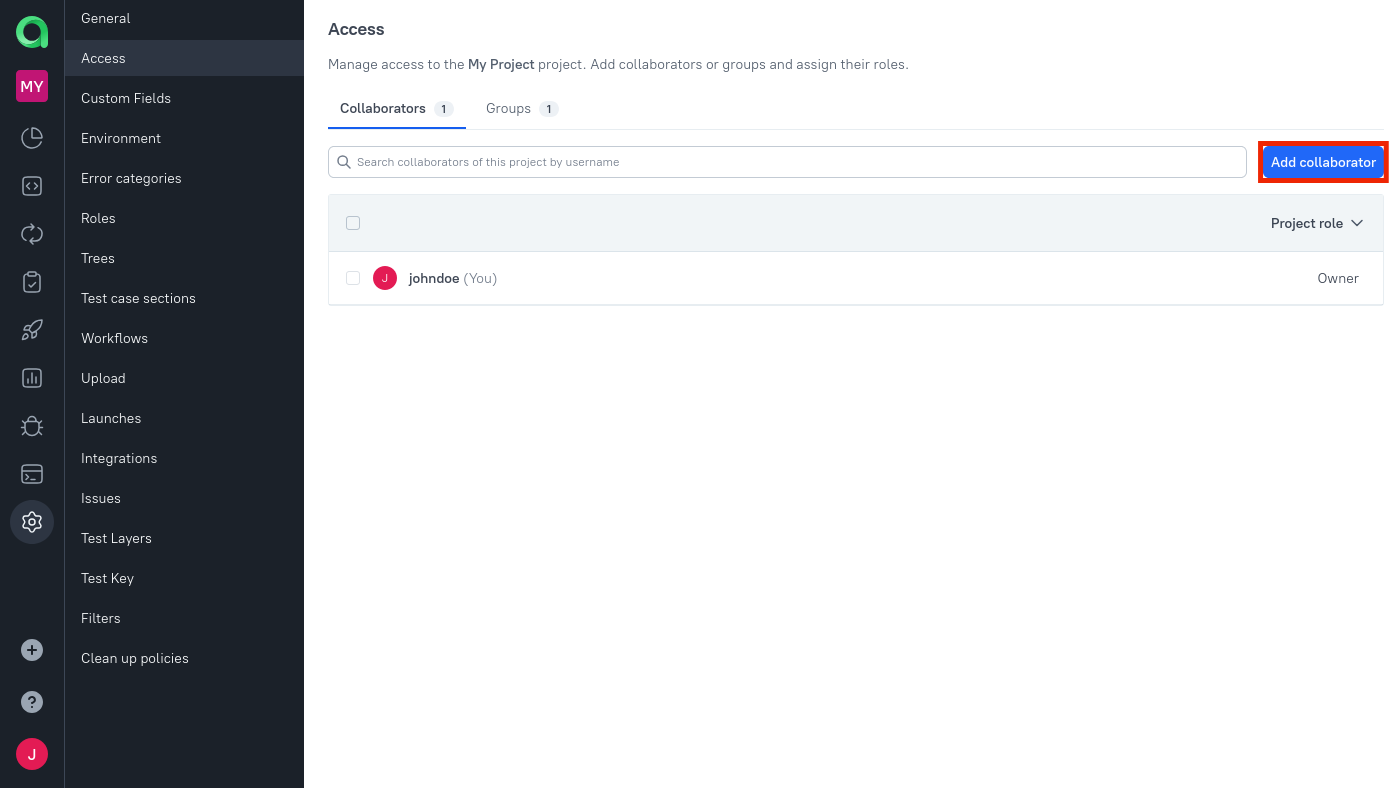
In the dialog that appears, select a new collaborator and select the appropriate access level: Read, Write, or Owner.
Click Submit.
What's next?
- Run a manual test case by following a test scenario (a set of steps to be performed by a QA engineer).
- Run an automated test case and upload test results to Allure TestOps via the web interface or a CI integration.
- Create a combined launch by running manual and automated test cases together.
- View the test results in Launch Overview and Dashboards.
