Custom fields
Custom fields are arbitrary key-value pairs that can be assigned to test cases. Similar to a tag, the actual meaning of a custom field is project-specific.
The general purpose of custom fields is to help filter and group test cases. You can use them:
- to group test cases by specific values in custom trees,
- to search for test cases using filters,
- to filter test cases via AQL (e.g., when creating test plans).
To start using a new custom field:
- As an administrator, declare the custom field.
- As an administrator or a project owner, add the custom field to the project.
- As a project owner or a test author, edit values for test cases manually or automatically.
System fields
To each project in Allure Testops, some system fields are added automatically. This includes:
- Epic, Feature, Story — used by default for the “Features” tree,
- Suite — used by default for the “Suites” tree,
- Component — not used by default but often used for custom trees or filters.
The system fields cannot be removed from a project. You can, however, add or remove mappings for any field, see Setting custom fields automatically.
The labels in the default mappings for Epic, Feature, Story, and Suite match the labels generated by the standard functions in most Allure adapters.
Declaring custom fields
Before a custom field can be added to individual projects, it must be declared globally by an Allure Testops instance administrator. At this point, only the human-readable name of the field is being determined.
To declare a new custom field:
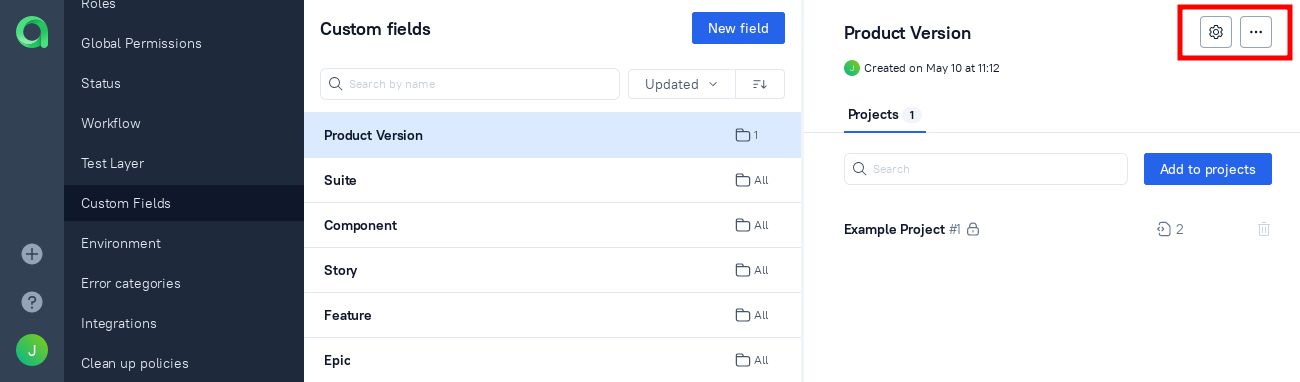
Click on your avatar and go to Administration.
Select the Custom Fields tab.
Click New field.
Enter a human-readable name for the new field and click Create.

To rename or remove an existing custom field, use the icons in the top right corner.
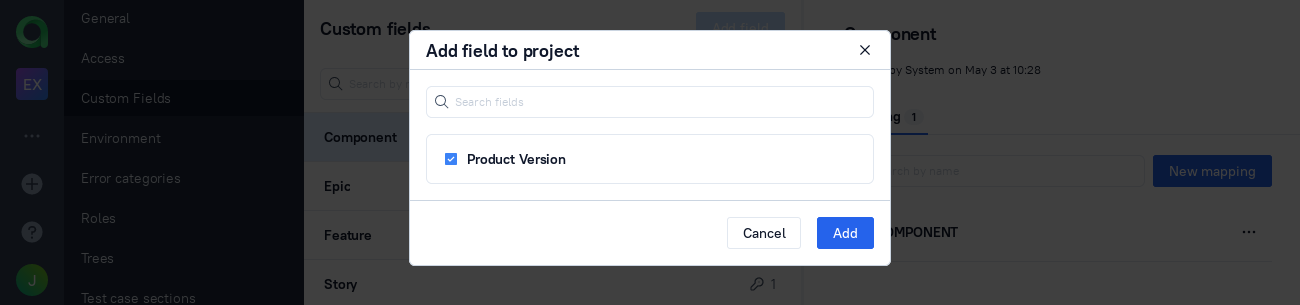
Adding custom fields to a project
Once you have declared a custom field in the Allure Testops instance, you need to add it to your project to start using it. This can be done either from the administration panel by an administrator or from the project settings by the project owner.

Setting custom fields
Allure Testops provides two ways of setting the values for a test case's custom fields:
- A user can set the values manually in the Allure Testops web interface.
- A test author can set the values automatically by including them in the test results.
For the manual QA, setting the values manually is the only supported workflow.
For the automation QA, the supported workflow is defined by the policy for custom_field in the Metadata update settings. If the policy is set to from_test_result or unset (the default), Allure Testops will use the values from the test results to update the fields via a customizable mapping. If the policy is set to from_test_case, Allure Testops will ignore the values from the test results and let you edit them manually instead.
Setting custom fields manually
Go to the Test cases section of your project.
Select a test case.
On the right side of the page, next to Fields, click the pencil icon.
In the dialog that appears, edit the list of custom fields. In each row, the Custom Field must be a field name previously added to the project, and Value can be an arbitrary text value.
To add a new custom field, click Add.
To delete a previously added custom field, click the cross icon.
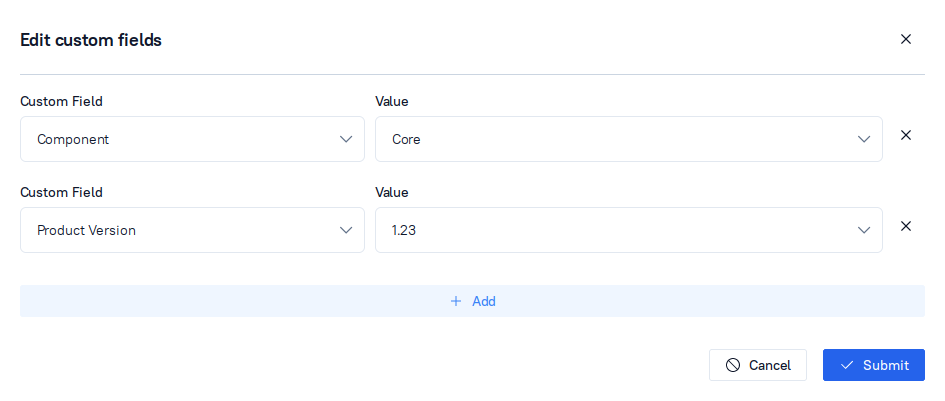
Click Submit to save the changes.
Setting custom fields automatically
Go to the project settings.
Go to the Custom Fields section.
Select the custom field that should be loaded from test results.
Click New mapping.
In the dialog that appears, enter the name of the label and click Create.

In your test code, use the specified label name to set the values.
Once the mapping is configured and the code is updated where necessary, make sure to run a new launch and close it to apply the changes.
